

How To Animate Text and Titles Using Keyframes

You’ve shot awesome footage and have it cut together into the perfect sequence... but something is still missing from your story. Now you want to add text titles but plain, boring, still text will ruin all of your amazing work! This is where animated titles are here to save the day! If you’re new to editing, animating text might seem out of reach but have no fear - we are going to teach you how to create amazing animated text titles to complement your videos with the power of keyframe animation!
What is keyframe animation?
Let’s start with the basics. A keyframe is a commonly used marking point in animation and video editing. It acts as a single frame marker point on a timeline and contains the value of a specific setting. It acts as a start or endpoint where the value of a specific setting changes over time.
A keyframe can be applied for almost any object in a video project and can control changes in almost any value of its respective object. Keyframes can be set for text, images, videos, effects, and audio clips and can change values for settings like opacity, object position, size, or rotation.
When you place two keyframes at different points on the timeline, an animation is created as the playhead moves from the value of the first keyframe to the second over playback time. This is what creates a keyframe animation, the distance between two different keyframes. The transformation of the setting between the two points is a keyframe animation.
Example: I place two keyframes 3 seconds apart. On keyframe #1, I set an object on the left side of the frame. On keyframe #2, I move the object to the right side of the frame. The result will be that the object moves from the left to the right over 3 seconds!
Simple right?
How to create a Text Keyframe Animation
For this article, we are going to use CyberLink’s PowerDirector editor to illustrate how to create our keyframe animations. PowerDirector is a great platform for all types of edits, effects, and animations but these techniques can easily be translated to any video editing software you might be using.
1. How to create a text fade in and out
The first keyframe animation we will create is a text fade-in. We’ll do this by decreasing and increasing the opacity setting in two keyframes.

Step 1: Drag and drop a default title from the “Title Room” on to your timeline.
Step 2: Double click on the title to open “Title Designer.”

Step 3: At the top of Title Designer make sure you have “Advanced” selected and your playhead is at the beginning of the timeline.
Step 4: Scroll down to “Object Settings” and open the drop-down menu.

Step 5: With the playhead still at the beginning of the timeline click on the diamond-shaped “add/remove keyframe” button next to Opacity. A small keyframe indicated by a red diamond will appear at the beginning of the timeline for Opacity. Change the opacity setting to 0%.

Step 6: Move your playhead to 1 second. Change the opacity setting to 100% and another keyframe will appear on the timeline automatically to indicate the change at this point.

Step 7: Move your playhead to the end of the timeline. Change the Opacity to 0%. A new keyframe is created for you. As long as you already have a keyframe in a different spot for your setting when you change its value a keyframe will automatically be made for you.

Step 8: Go back on the timeline 1 second and change the Opacity setting to 100%.
Awesome! Now you have a title that fades in and out.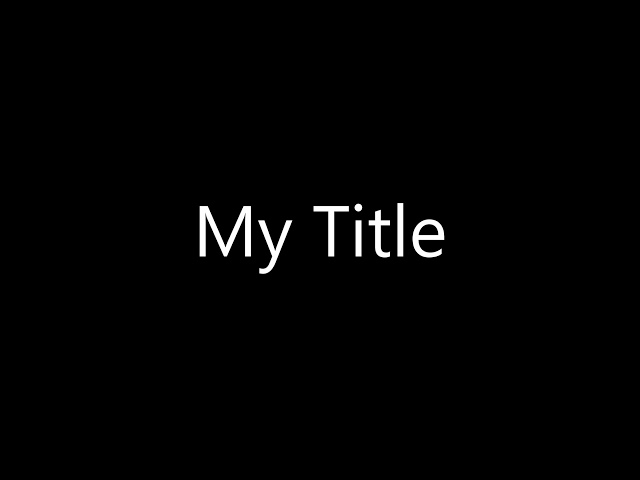
2. How to create a title zoom in and out
To create the effect of zooming in (increasing title size) or out (decreasing size), you follow the same steps, but instead of changing the opacity, you change the scale. The scale control is also in the Object Settings just above the Opacity Control. We will start with a title ready to go and Title Designer already open.

Step 1: With the playhead at the beginning of the timeline click on the diamond-shaped “add/remove keyframe” button next to Scale. A small red diamond will appear at the beginning of the timeline for Opacity. When a keyframe is red it indicates that it is selected. Change the scale setting to a size smaller than 1.0.

Step 2: Move your playhead further along the timeline. Change the scale setting to over 1.0. A new keyframe, red diamond, should appear on the timeline. ”

Step 3: Move your playhead further down. Let’s change the size of the title by selecting it on the playback window and sizing it down. This will create a new keyframe for the new scale size.
Play the clip back and watch as your title zooms in and out.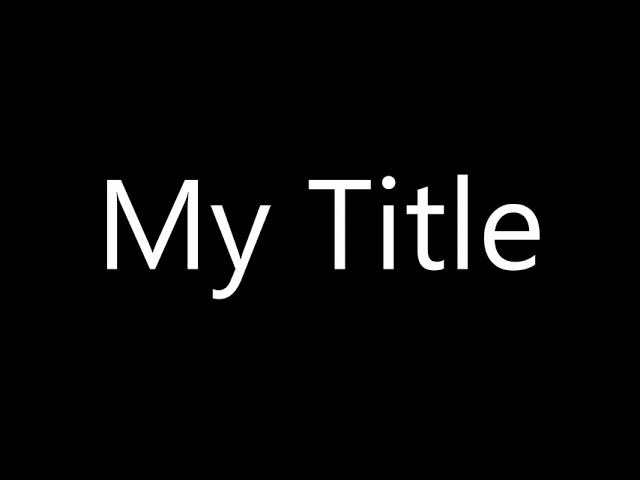
3. How to make a title move and rotate
At this point,counterclockwise you’re probably noticing a trend. Creating keyframe animations is really simple. Let’s try animating two different settings at the same time.
Step 1: With the playhead at the beginning of the timeline, click on the diamond shaped “add/remove keyframe” button next to both the scale and rotation settings.

Step 2: With both keyframes selected, move your text to the bottom of the screen.

Step 3: Move your playhead further along the timeline. Drag your title to the top of the screen.

Step 4: Without moving the playhead change the rotation of your object to 180 degrees to make the title rotate clockwise and -180 to make it rotate counter clockwise.
When you play your video back your title will move to the top while spinning around.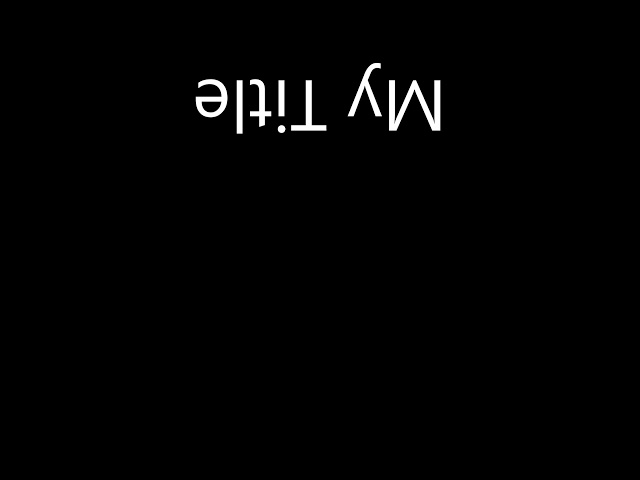
4. Linear and Hold Keyframes
Another thing to keep in mind when working with keyframes is that there are two types: linear and hold. So far we have only been using linear. Where linear keyframes change the objects setting gradually over time, a hold keyframe keeps the setting the same until another keyframe on the timeline changes the setting is reached. This creates a jump instead of a transformation. To use hold keyframes, you can right-click on a keyframe and select “Hold” from the pop-up menu.
5. How to create a Title Reveal
Now let’s take keyframe animations to a whole other level with the Title Reveal Mask. This is going to allow us to make it seem like our title is coming out of something in our video footage. You can access the Title Reveal Mask from Title Designer. Add a video clip and a title to your timeline and open Title Designer for your text. Scroll down to Title Reveal Mask on the left.
Step 1: Click the check box next to Title Reveal Mask at the top of the section. This will add a mask to your video. The mask will be outlined by a thin dotted line and will have handles you can use to size and position the mask.

Step 2: Now position the mask over the title where it will appear once it has finished moving on screen. Resize the mask to be just a bit larger than the title.
Step 3: Now scroll to Object Settings > Position move the title outside of the masked area. This will "hide" the title.

Step 4: Set a keyframe for the new position of the title.
Step 5: Move the playhead to the spot in the timeline where you want the title to come to rest after it is revealed.
Step 6: Set a keyframe for the title for that point on the timeline and move the title into position.
Step 7: Now, the title will move from the "hidden" area into the visible area and be revealed when the clip plays.
6. How to animate titles with Motion Paths
Set up a title. Double click on the title in the timeline to bring up the Title Room Menu.
Step 1: At the top of the Title Room Menu panel there are three tabs. The one to the far right is Title Motion. Click on that.

Step 2: Choose a motion type by clicking it.

Step 3: Note that PowerDirector automatically places keyframes to control the position of the title. You can modify the motion path by either clicking on these keyframes and entering new values in the position control field, or, more simply, you can click and drag the motion path itself in the preview window to change sections of the path.

7. Animating titles with MotionTracking
If you have moving objects in your video a lot of video editing softwares will create keyframes automatically to let your titles follow a selected object. All you have to do is track the object and add a title. We do this with a motion-tracking tool.
Step 1: With Clip selected underneath the preview, choose "Tools" from the menu just above the timeline.

Step 2: Scroll through the pop-up and select Motion Tracker.

Step 3: This will open a new dialog panel with a preview and controls for motion tracking.
Step 4: Click Add Tracker.
Step 6: Click "Track" just below the preview.
Step 7: Now, on the left side of the dialog box, you can click one of the three buttons to add a title, a media clip, or an effect to the tracked object. Select "T" for title.
Step 8: Now type your title into the dialog box and adjust the font, size, and color. Drag the title from its initial position in the frame to the place you want it relative to the object you're tracking. If you want the title to adjust in size as the object being tracked gets larger or smaller in the frame, scroll through the options in the type attributes dialog and check the "adjust size" option.
Step 9: Preview the tracking and adjust the boxes as needed, then click OK.
Step 10: Double click on the title to open Title Designer and you will see all the keyframes that were automatically created for you.
8. Animated Templates
If you don't want to spend the time to create your own movements, fades, or scaling, PowerDirector includes a wide variety of pre-made title effects. To explore these, open the Title Room, create a title as above, then, with the Title Room dialog panel loaded, click on the middle tab — Animation — in the left pane. Your choices here are ‘In Animation’ (how you want the title to appear on screen) and ‘Out Animation’ (how you want the title to leave the screen). There are a variety of effects to choose from.
To apply an effect, choose ‘In Animation’ and put the playhead at the point in the timeline you want the title to appear, then click on an effect in the left pane. Then choose ‘Out Animation’, move the playhead to the spot where you want the title to disappear, and click on an effect. Preview and click OK when you're satisfied.


Now that you are a title wizard you might be wondering what kinds of videos you can add animated text to. Here are a few ideas.
- Add Titles to Your YouTube Videos
Every great YouTube video has titles. Before you upload your next video why not try throwing a few titles on it.
- Create a Video Intro or Outro
Take a little extra time in editing to create an engaging intro or outro for your video.
- Create a Lyric Music Video
Take one of your favorites songs and make a lyric music video to share with your friends and family.
If you're an aspiring editor looking to create cool videos, head on over to our complete guide on video editing effects. We've also got other great articles in our blog that'll introduce you to all the tools you need to enhance your portfolio.
![How to Add Captions to Videos for Free [Windows, Mac]](https://dl-file.cyberlink.com/web/content/b969/l_Thumbnail.webp)

![How to Remove Text from Images for Free [App & Online]](https://dl-file.cyberlink.com/web/content/b1832/l_Thumbnail.webp)