Make Your Own Confused John Travolta Meme Video
The “Confused John Travolta” GIF has been a popular meme on social networks for a while. Just in case this is the first time you've heard of it, check out this gallery on Giphy, or read this article on Mashable to find out what’s been going on.
How to Do the Confused John Travolta Trick
Here’s the original scene from Pulp Fiction on YouTube.
To make your own version, you'll first need to remove the background of the video. If this scene hadn't already been recorded, it could have been shot in front of a green screen, after which a film editor could easily use the Chroma Key tool in PowerDirector to replace the green.
Since the original footage wasn't shot in front of green screen, in this tutorial we'll show you how to use Motion Tracking tool in ColorDirector to create a green screen effect.
If you are editing the footage on PowerDirector, and also have ColorDirector installed on your computer, simply do the following:
1. Select the clip on your timeline
2. Click “Fix/Enhance”
3. Click on ColorDirector, which will open your work-in-progress footage in ColorDirector.
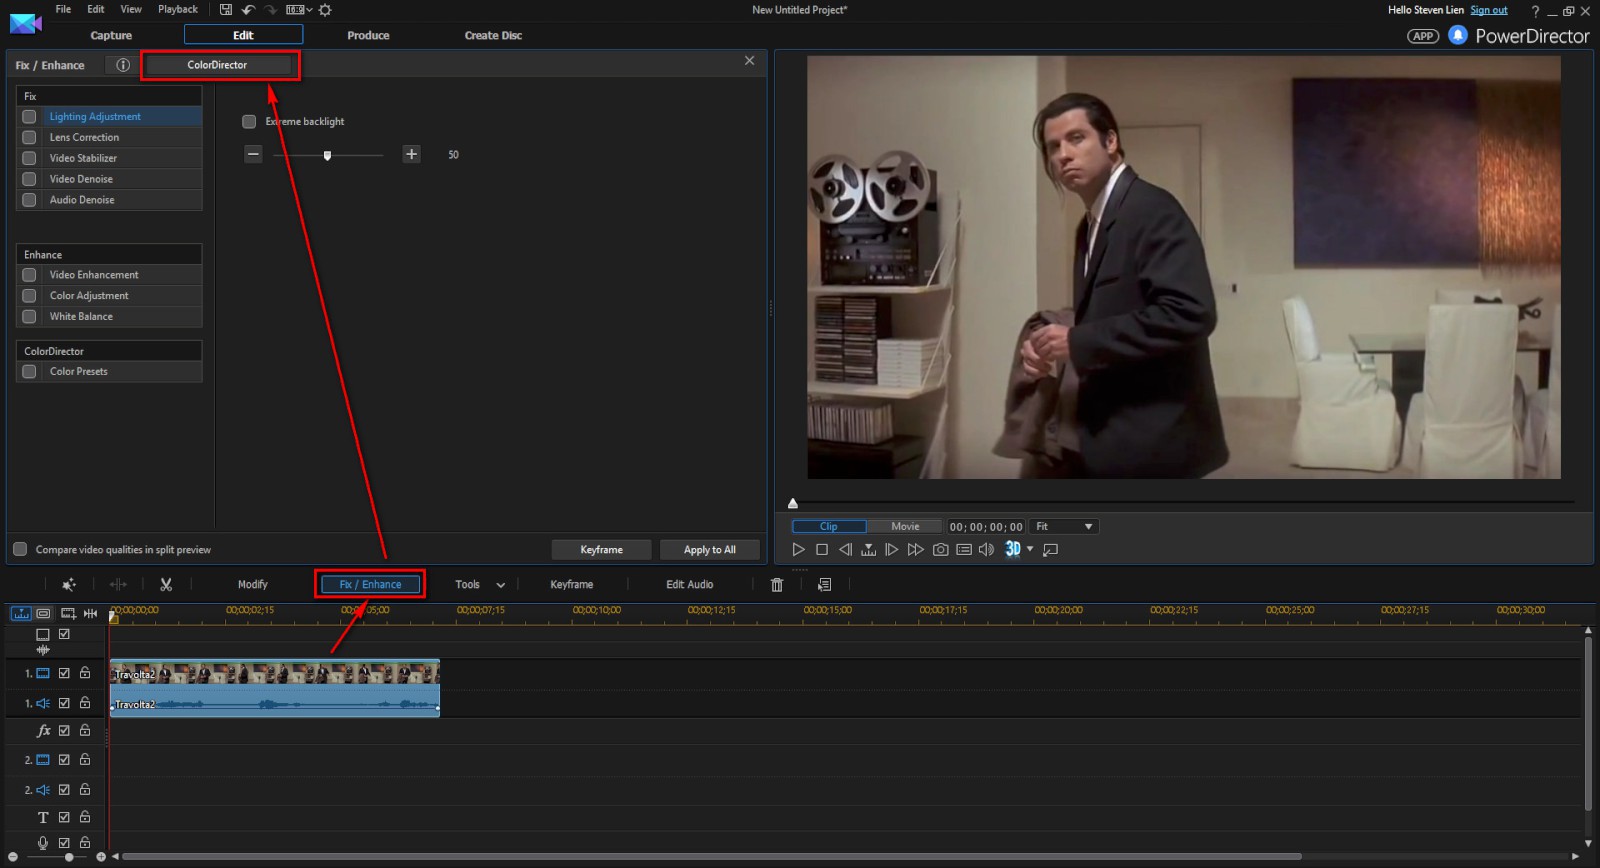
4. Select Regional Adjustment, and enter the Motion Tracking interface.
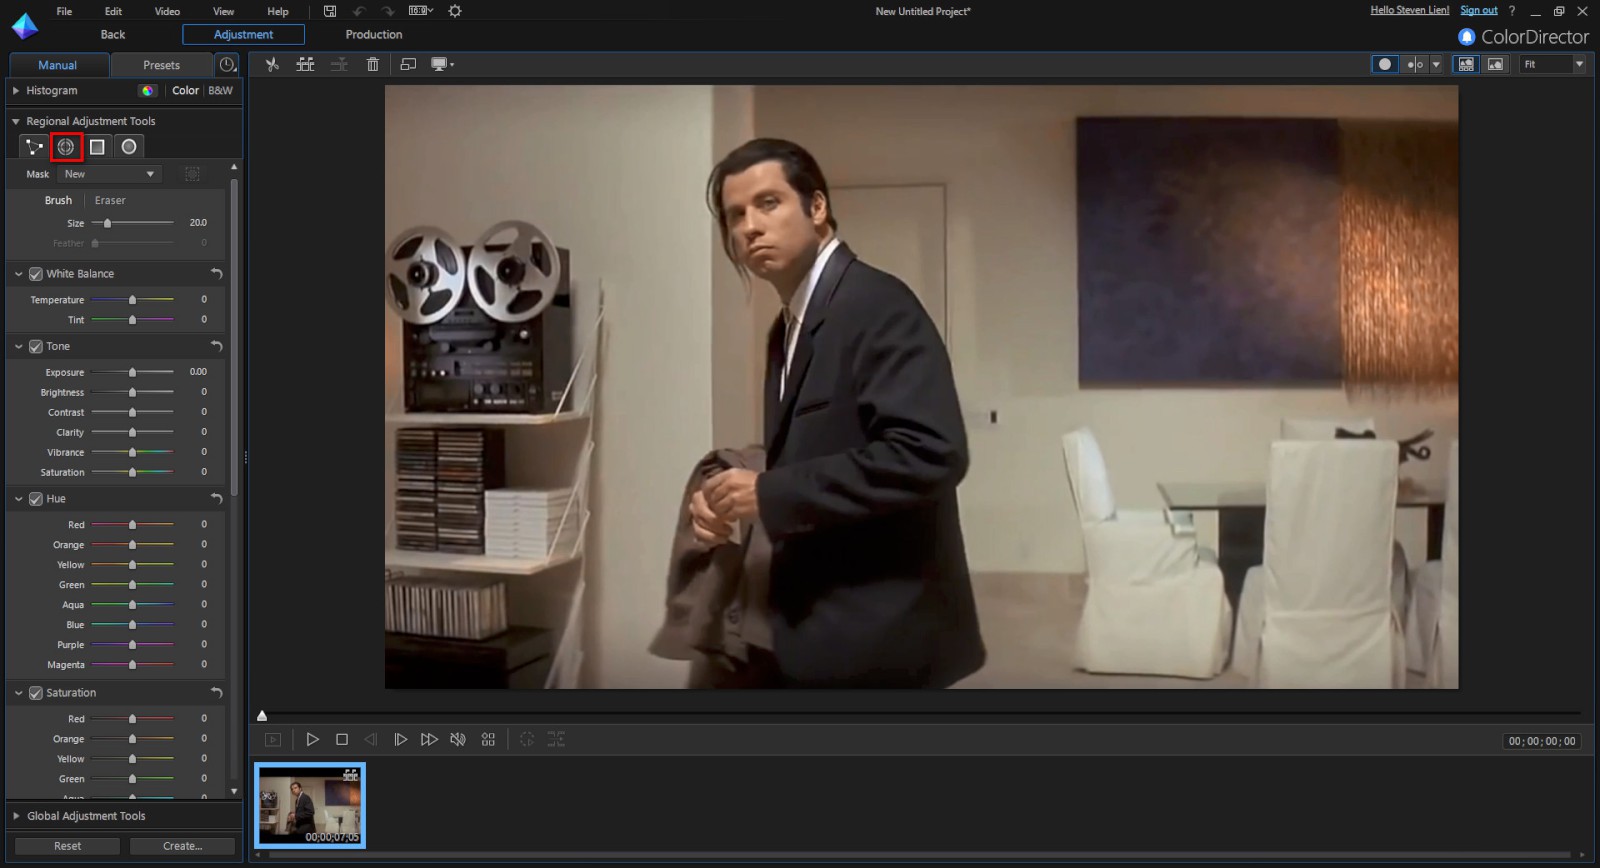
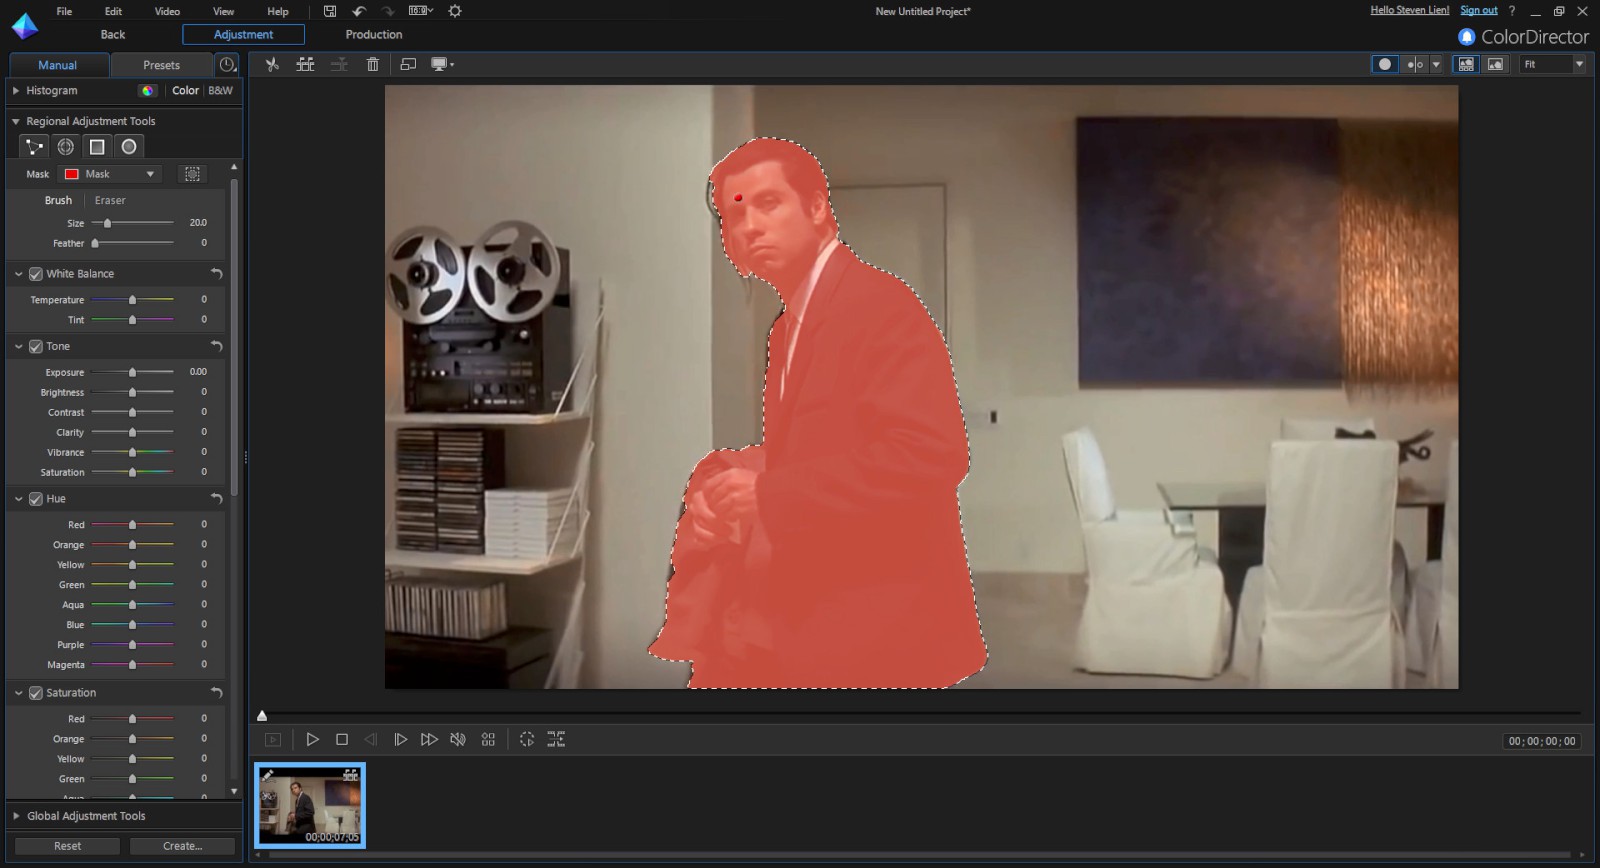
5. In the Motion Tracking interface, you will see your cursor has becoming a selection brush whenever you hover over the video. Use the Brush tool to select Travolta. You can switch between Brush or Eraser during your selection process.
6. When finished, you will create a Mask in the first frame of the video.
7. Next, click on the Motion Tracking icon underneath the video preview window to start tracking.
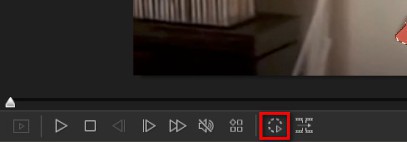
During the tracking process, you will see a bold red frame around the object you are tracking.
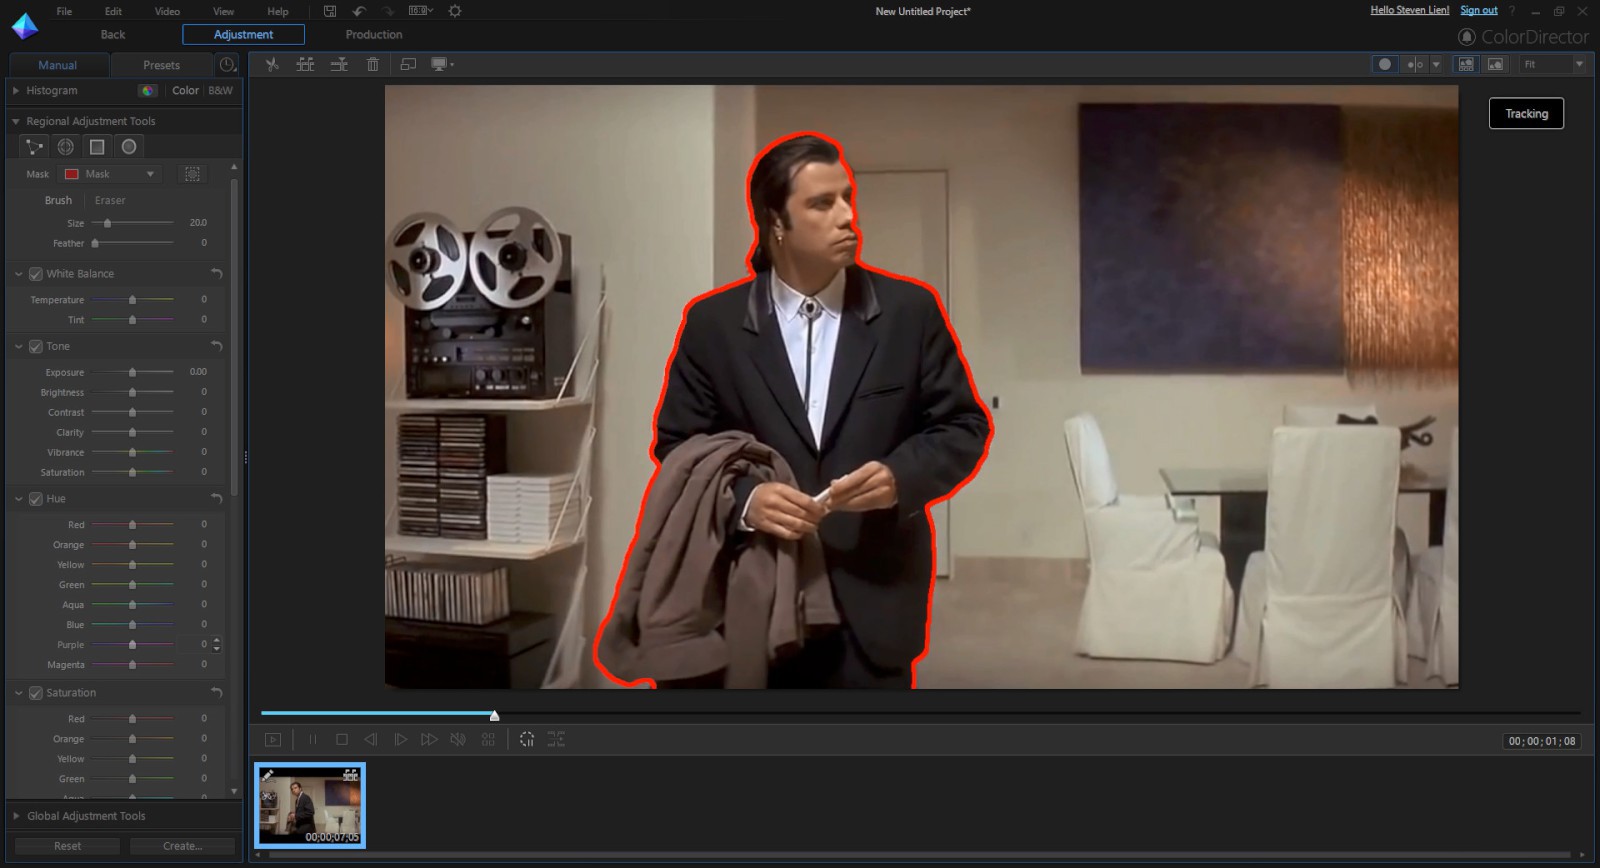
When the tracking is done, you will see a series of motion masks has been created throughout the video. If you find there are some parts of the video with regions not selected, or some unwanted parts are selected, you can move back to the frame to add or erase them, and then click on the Motion Tracker icon to re-trigger the tracking process from the frame you select.
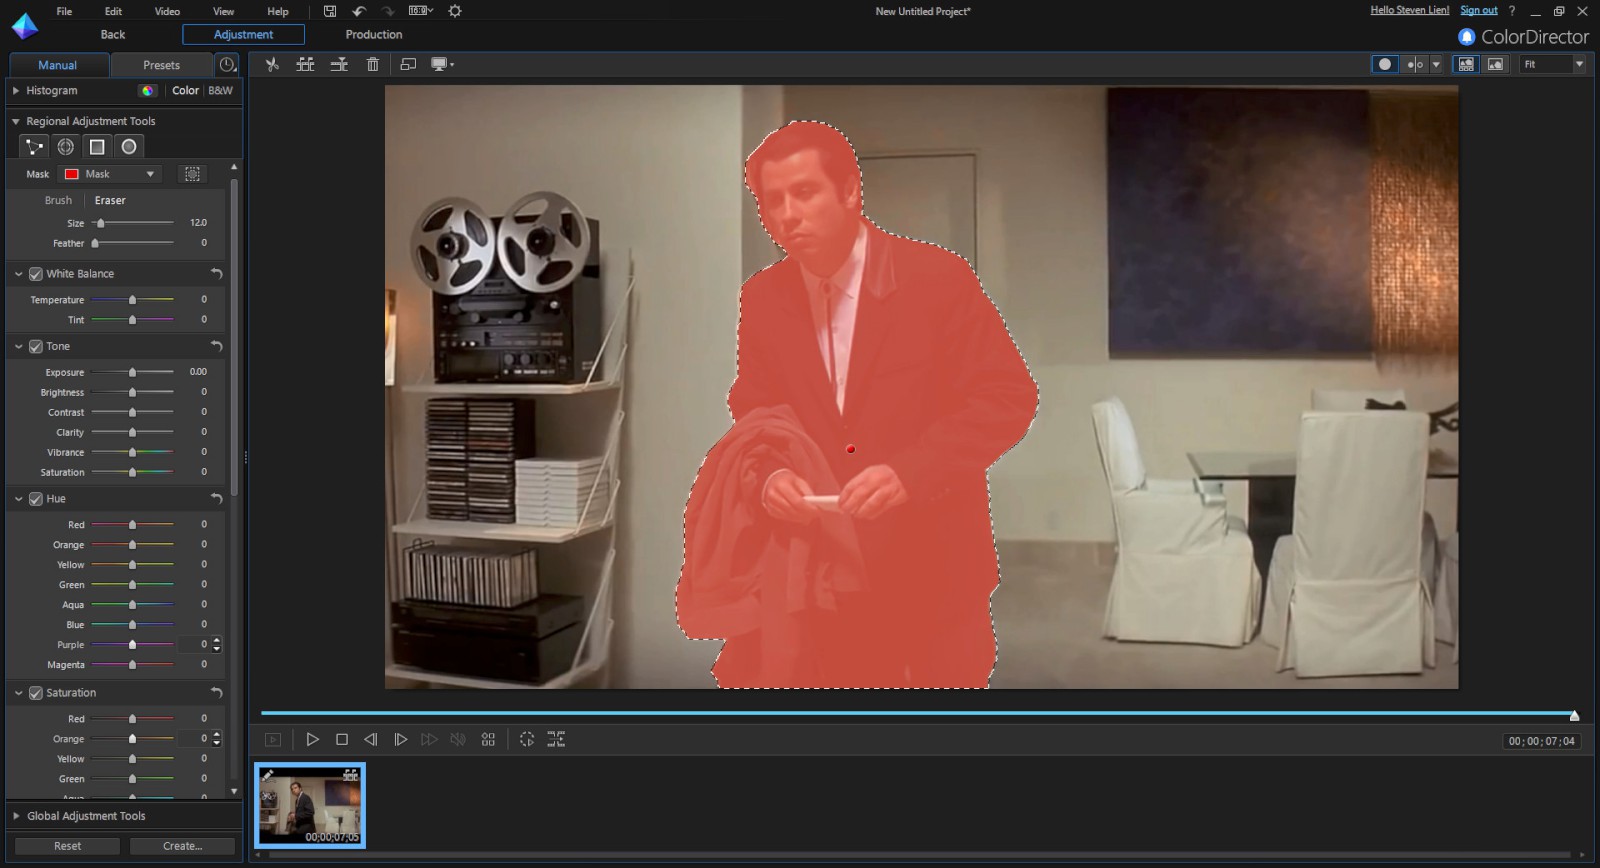
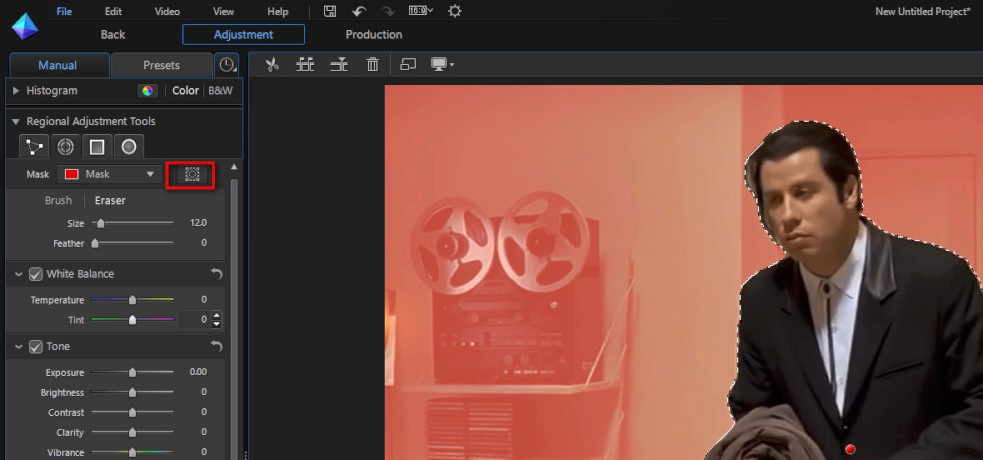
8. The part we want to remove is the background. Click Invert Mask to select the background area.
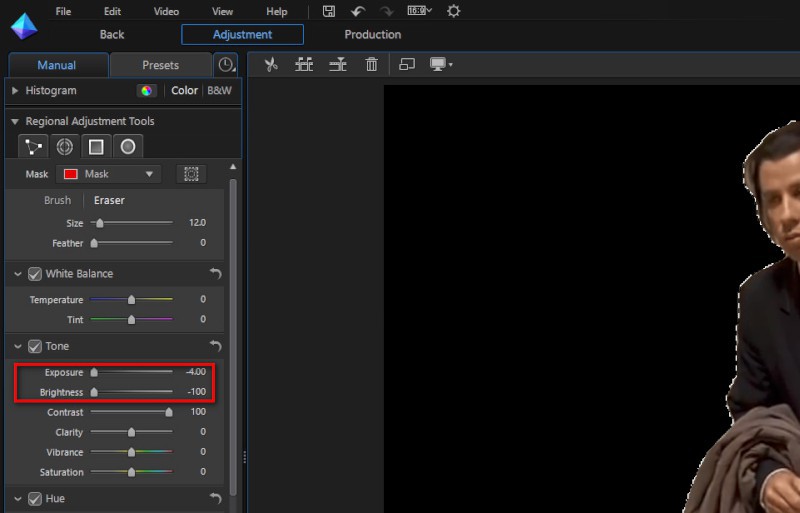
9. Next, we will change the background to green. Set Exposure and Brightness to the lowest setting, which will turn your background black.
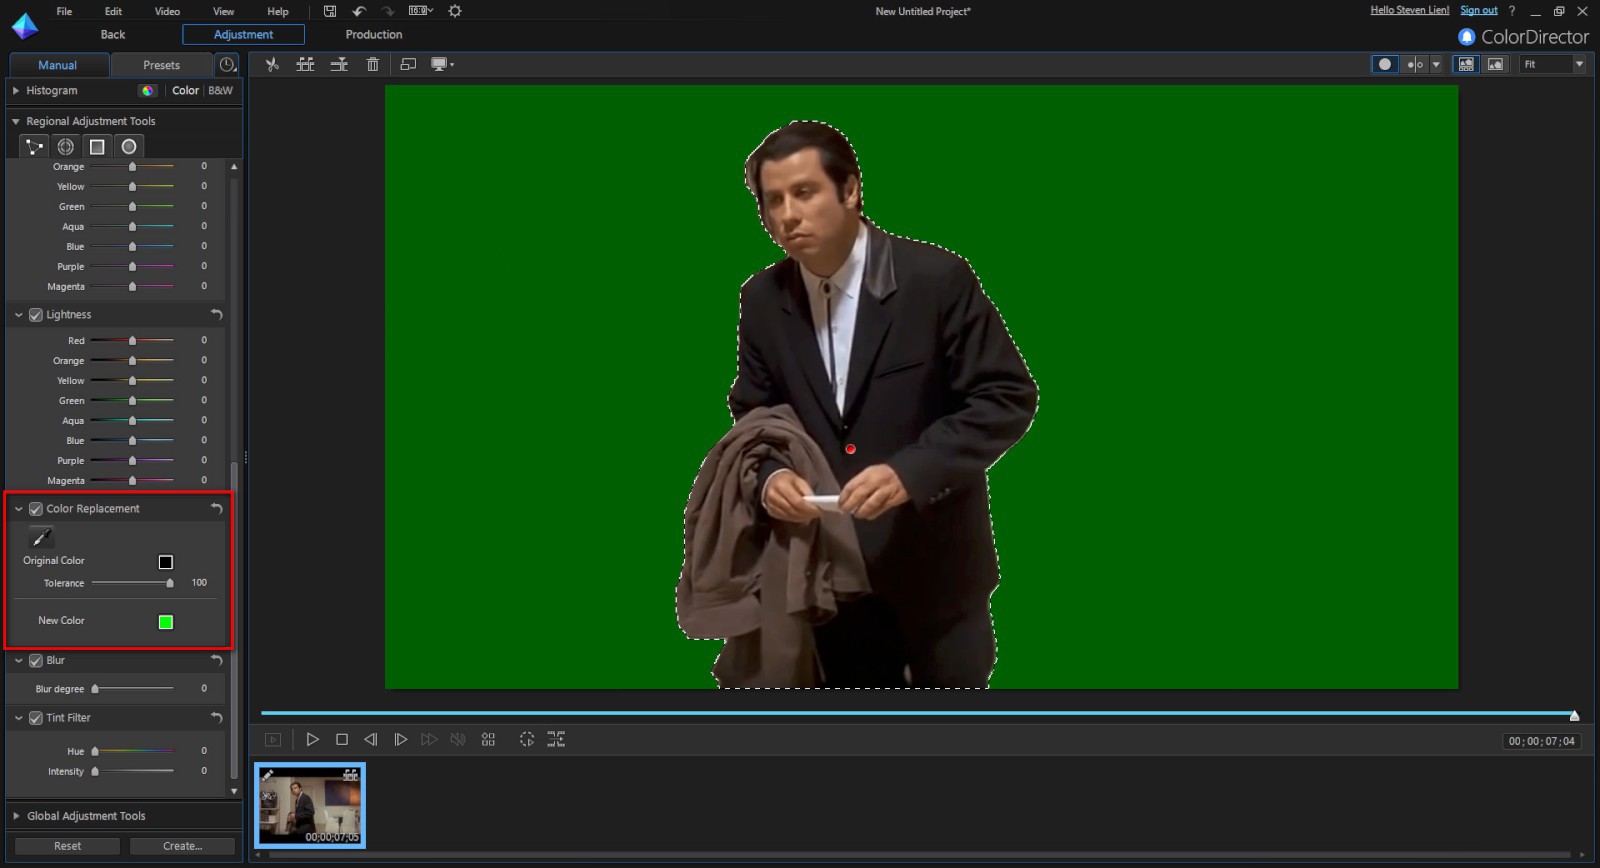
10. Go to the Color Replacement panel, use the drip tool to select the black part in your video’s selected area, and replace it with green. Make sure you set the tolerance as high as possible.
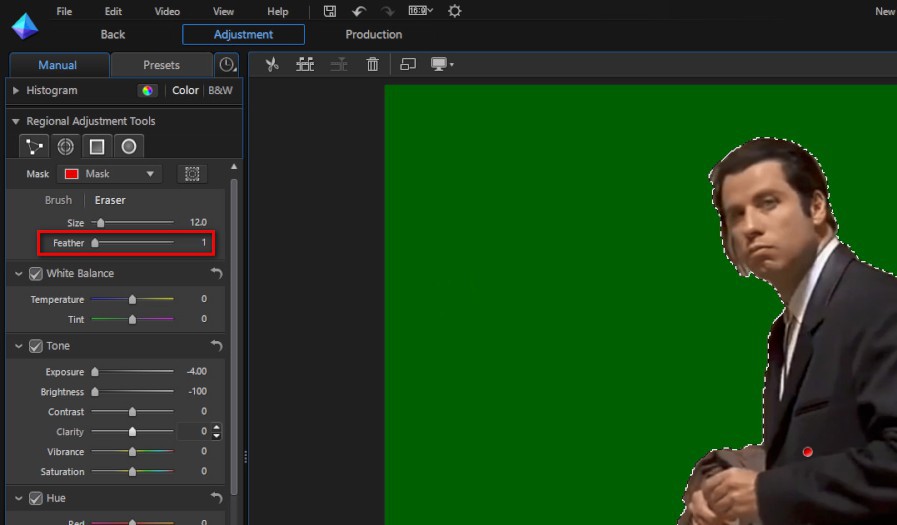
You can set the feather level to 1px to prevent the edge from being too sharpened.
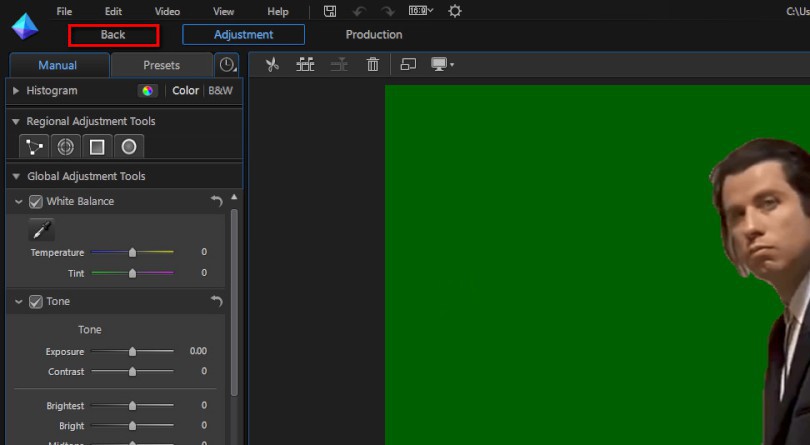
11. Now click “Back” to send the footage back to PowerDirector.
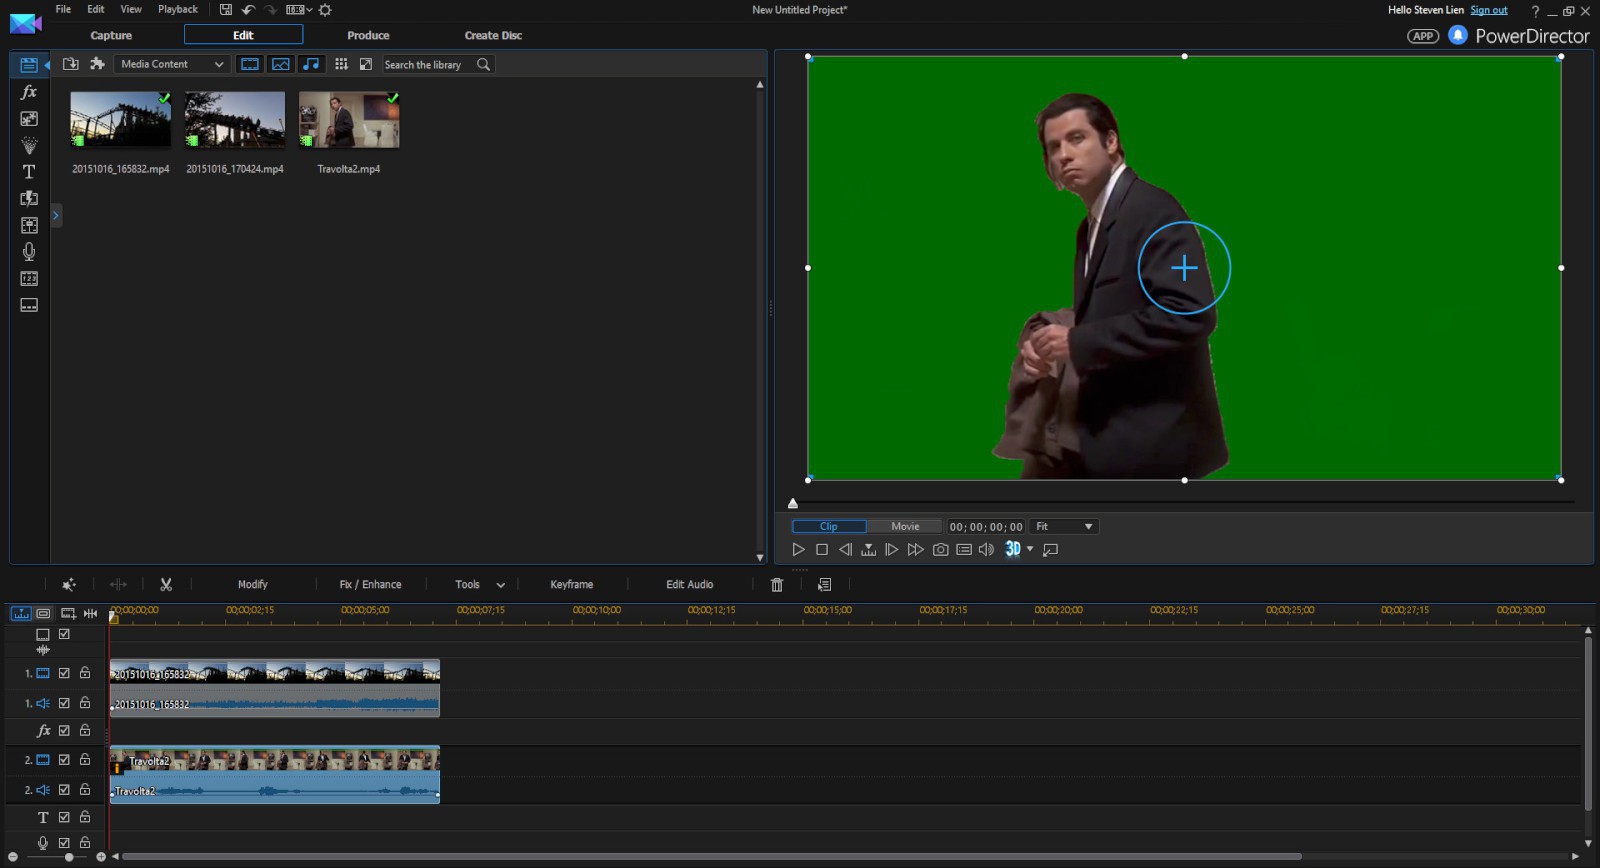
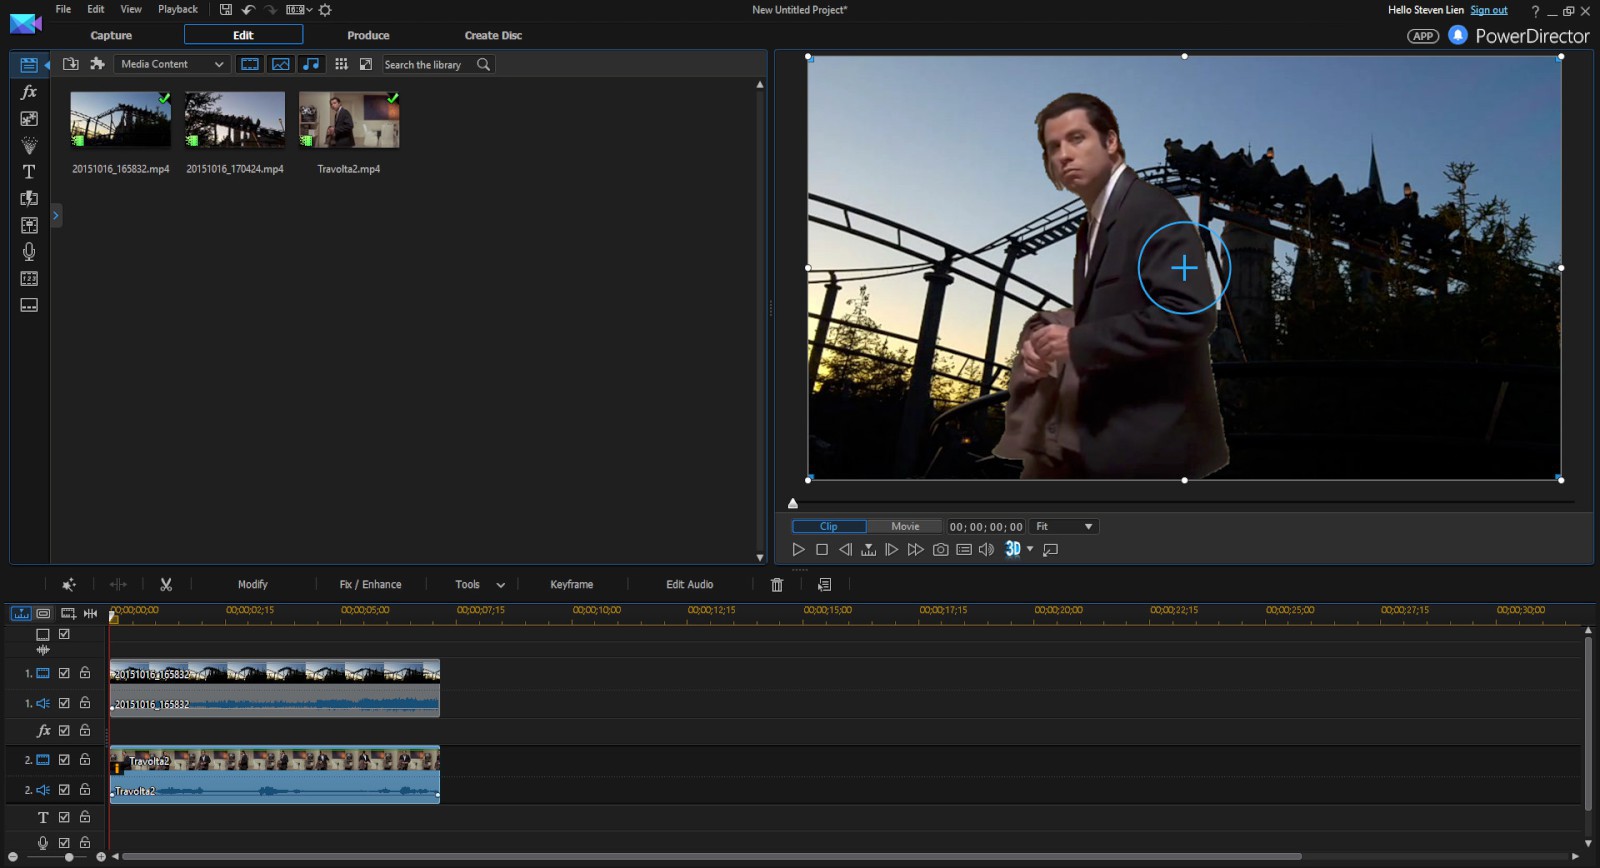
12. Move the Travolta clip to track 2, and add a video or photo you want to use as a background to track 1.
13. Double click on the clip at track 2 to enter the PiP Designer interface.
14. Go to Properties, tick Chroma Key, and use the drip tool to select the green part of your video. You will see the green part is now transparent! You can adjust the Edge sharpness to make the edge less softer.
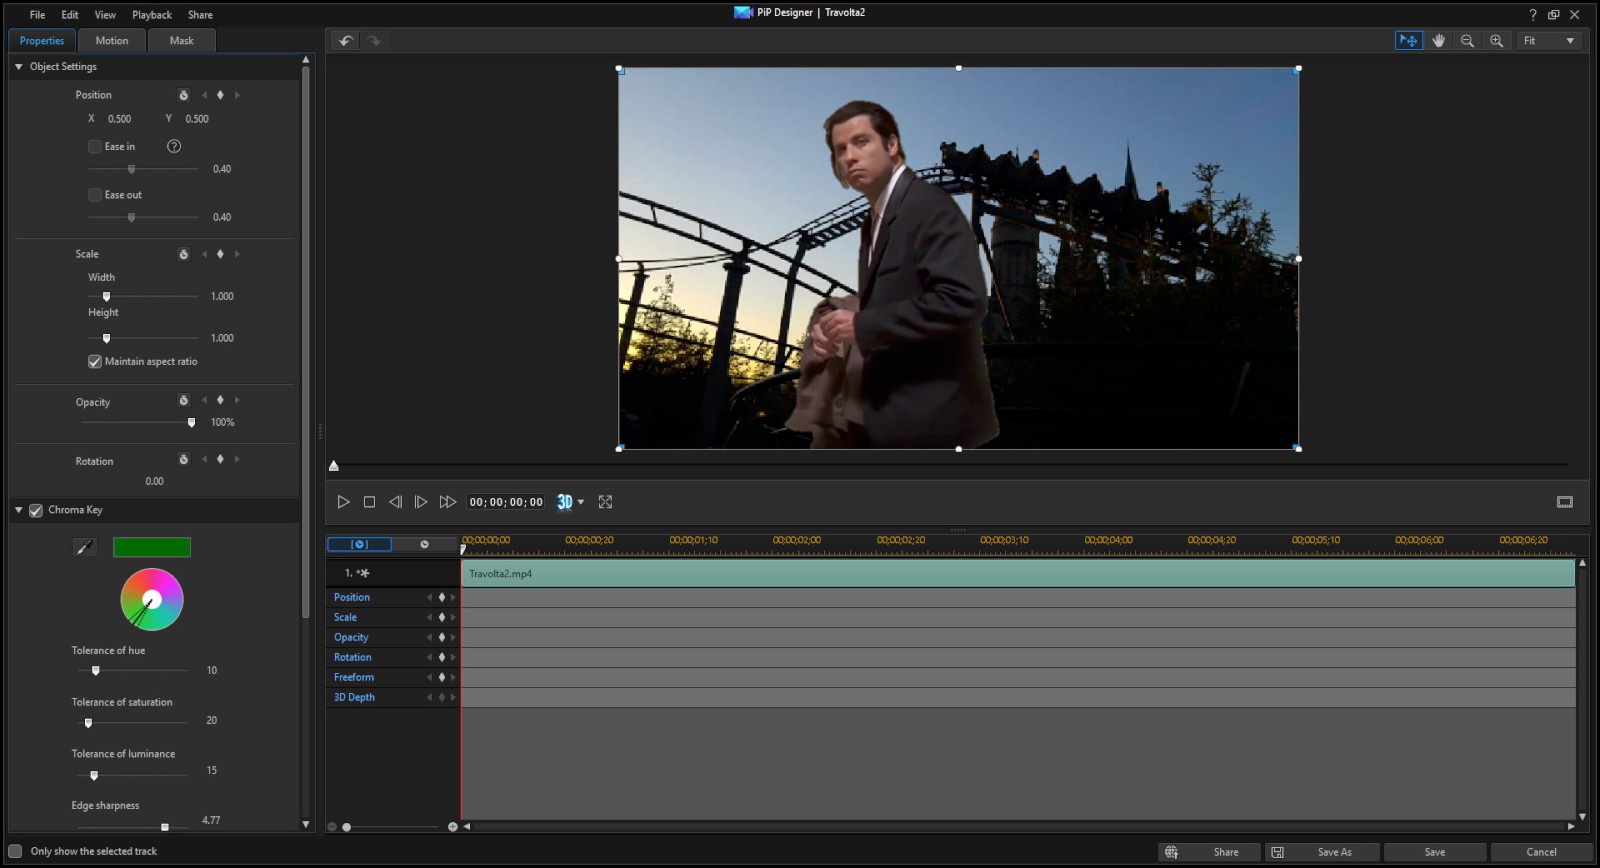
15. Click Save to go back to the main editing interface, and your video is ready to produce and share!
Get PowerDirector 365 Essential for Free
Take your videos to the next level with the best video editor for Windows PC


