
How to Create a Wedding Slideshow using Photos

Photos are often used when in videos shown at weddings in photo slideshows. Here's how you can create a slideshow video using your photos, which you can show at a wedding.

1. In PowerDirector, click on the  icon to display the explorer view, and then click
  to add a new tag.
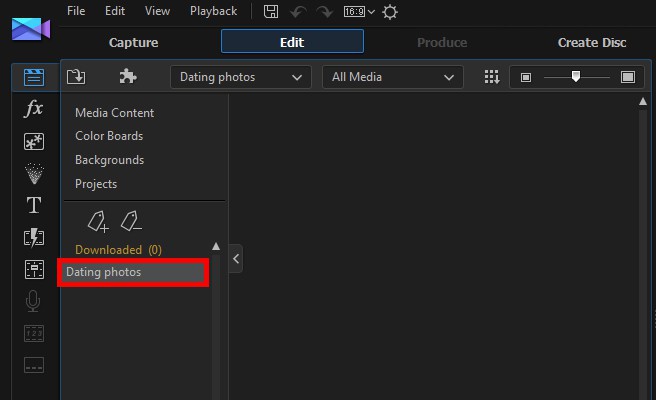
2. Enter the tag name: Dating photos.
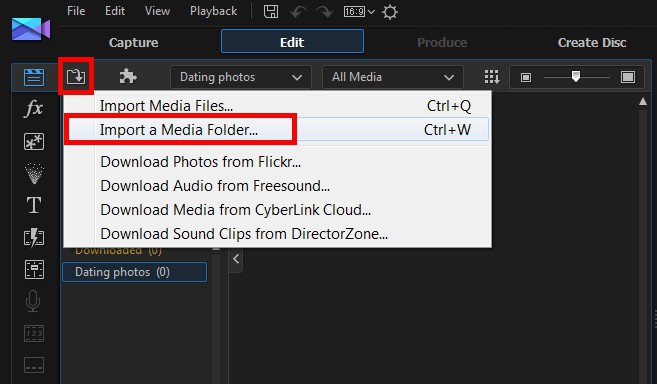
3. Click  and then select Import a Media Folder.
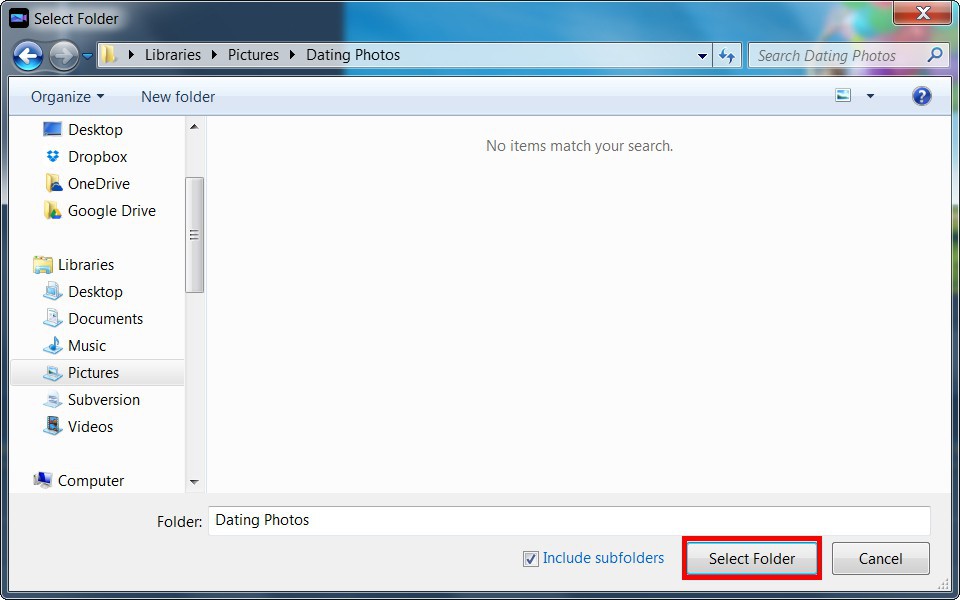
4. Select the folder that contains the photos you want to import, and then click Select Folder.
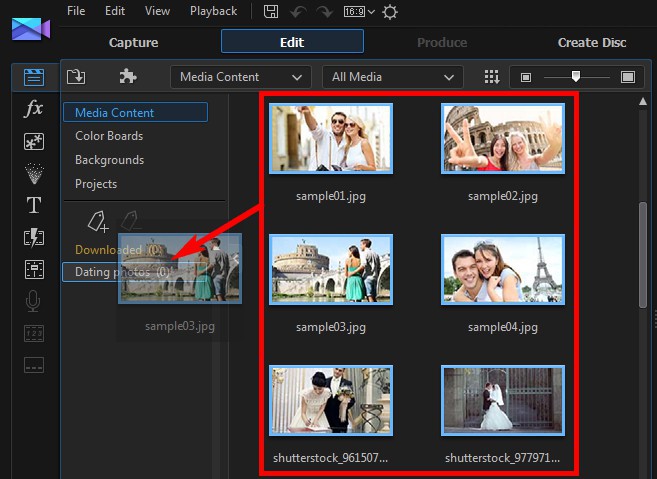
5. Select all of the imported dating photos and then drag them onto the newly created tag.
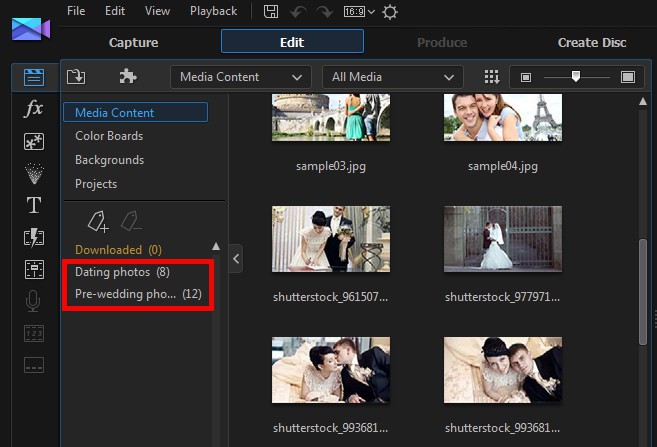
6. Create a tag for pre-wedding photos and then import the relevant photos in the same way.
Slideshow - The montage template
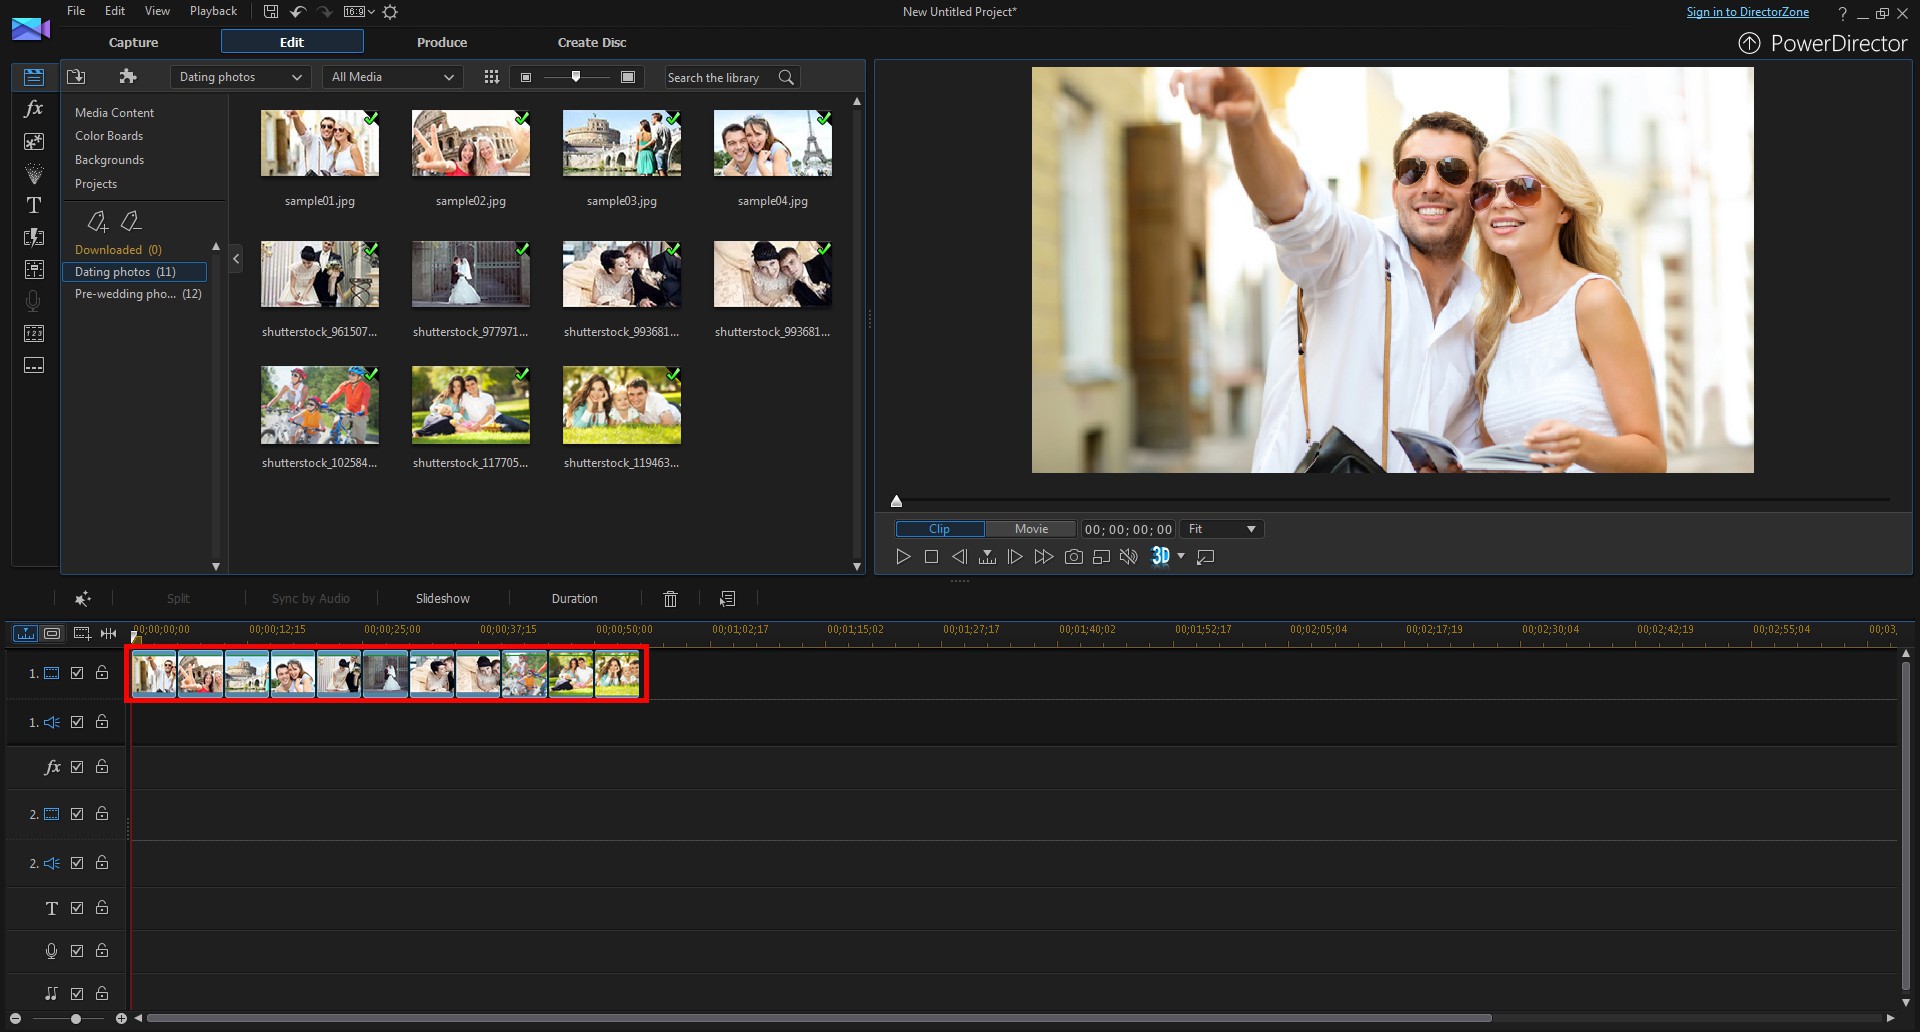
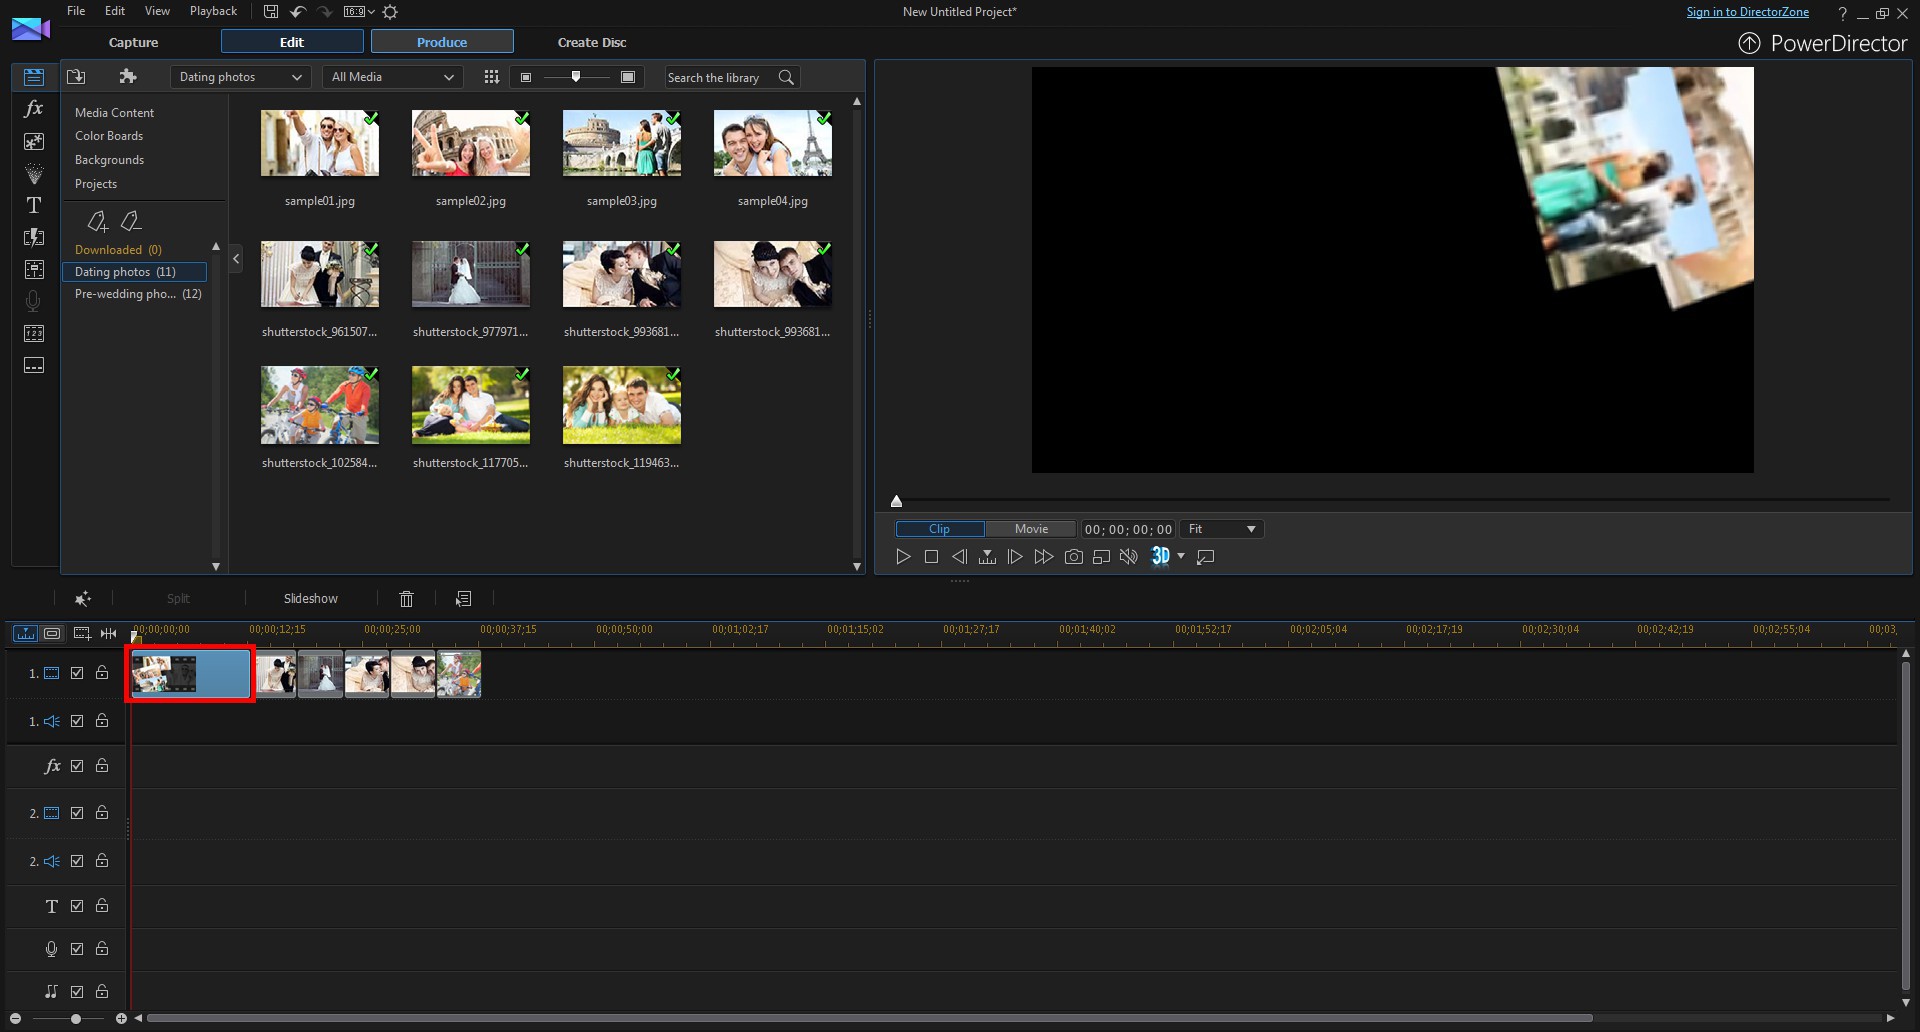
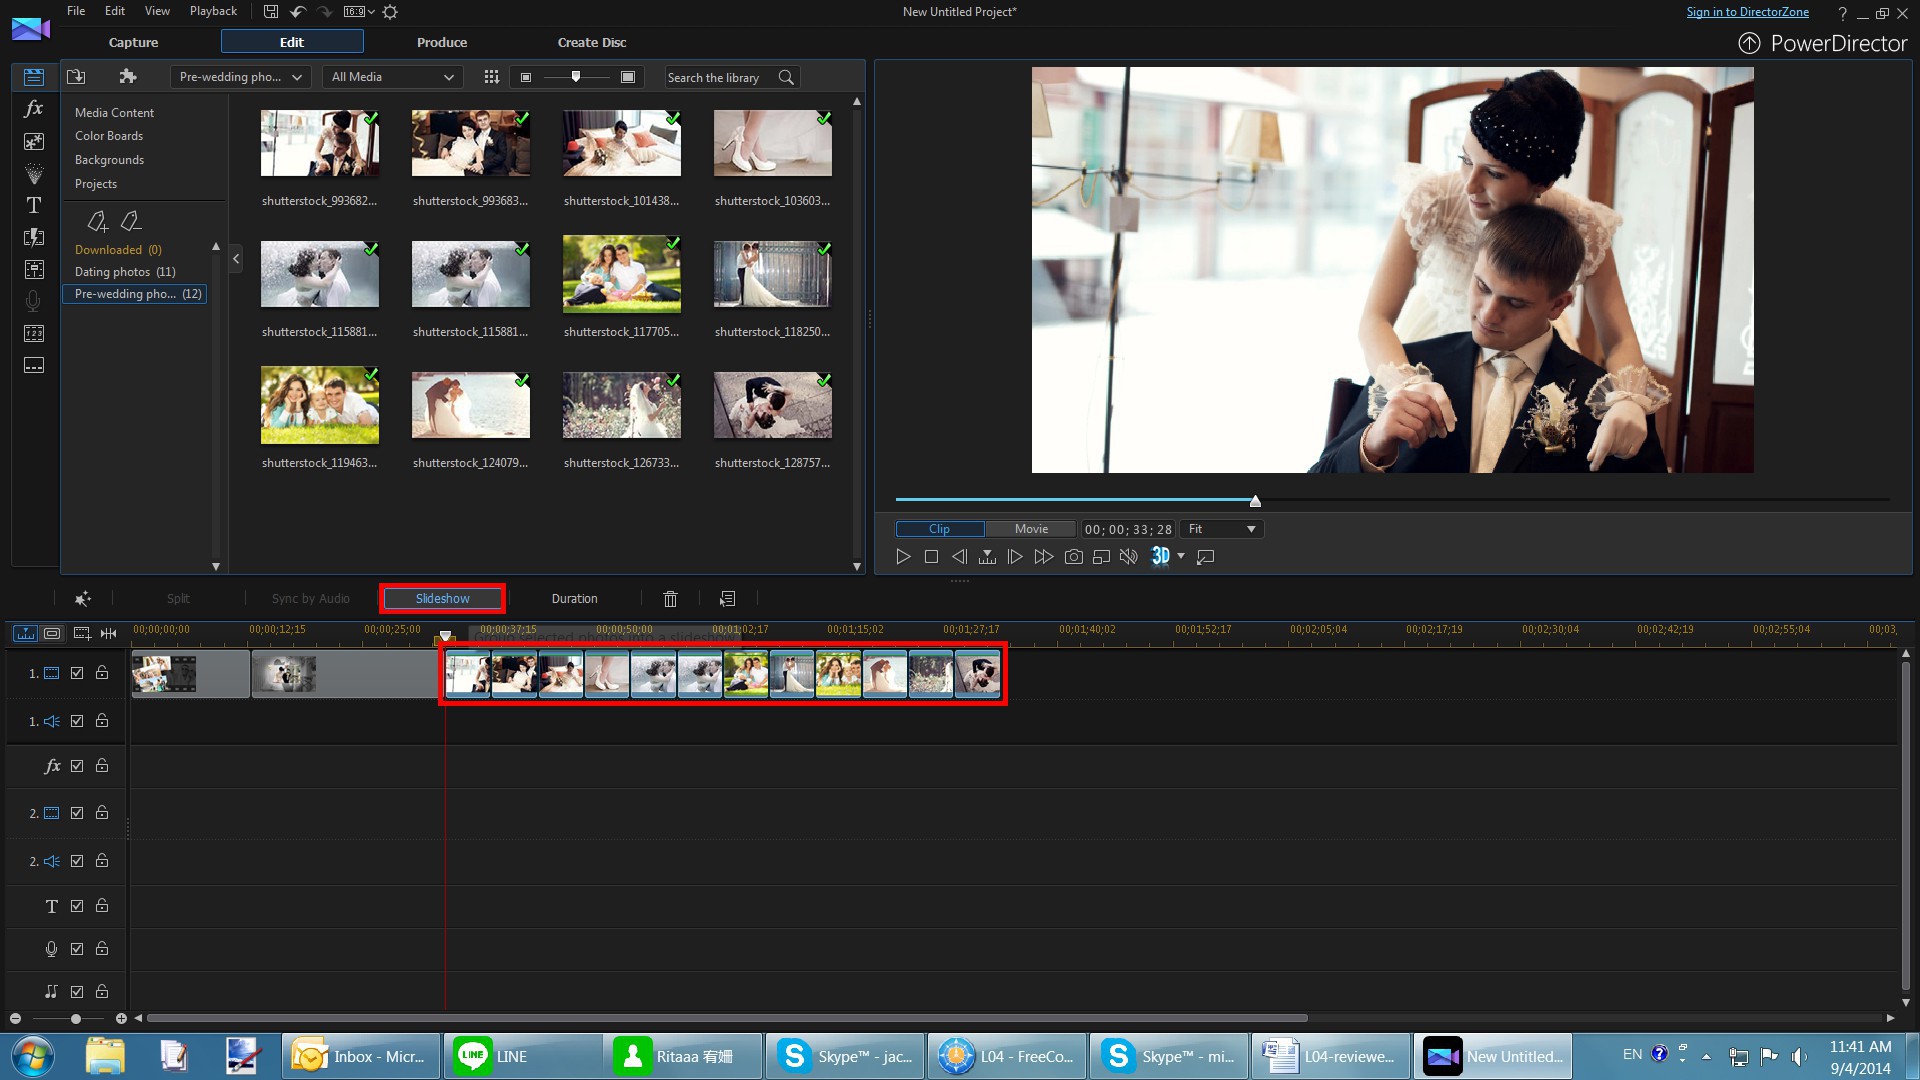
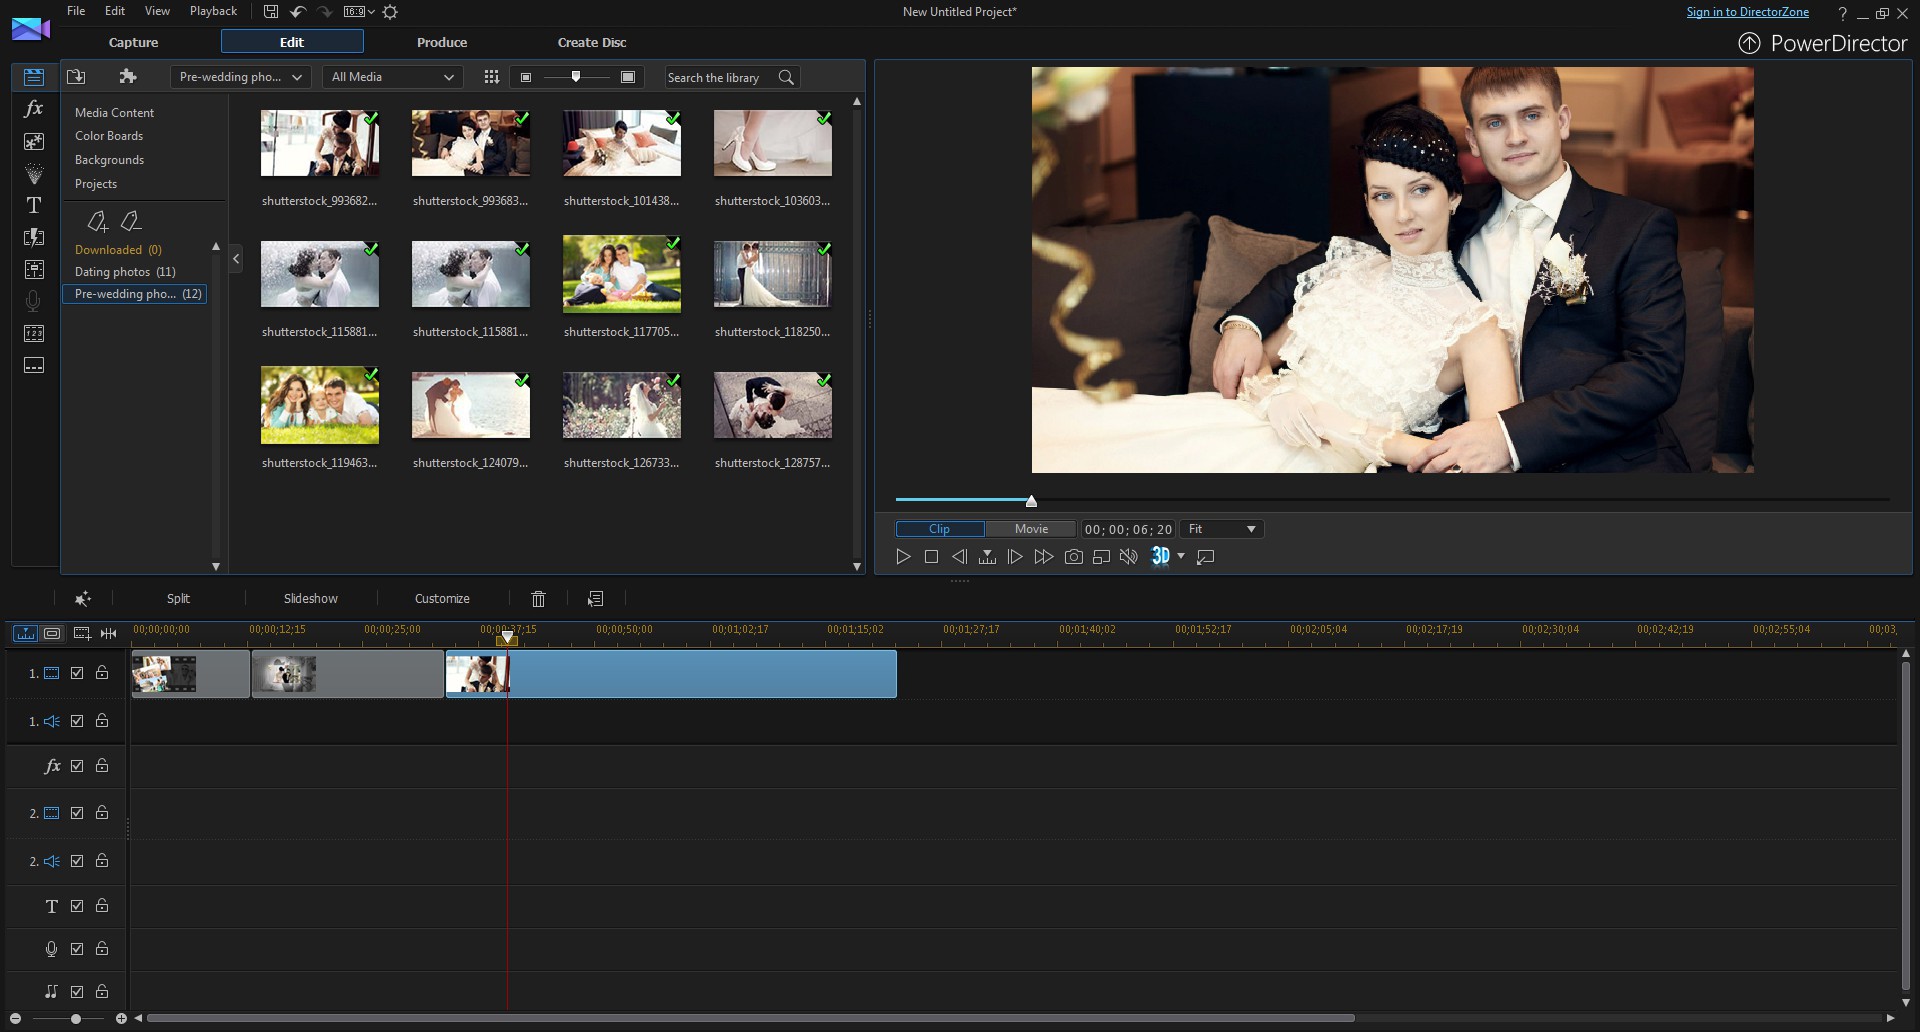
1. Select and drag all the dating photos to editing track 1.
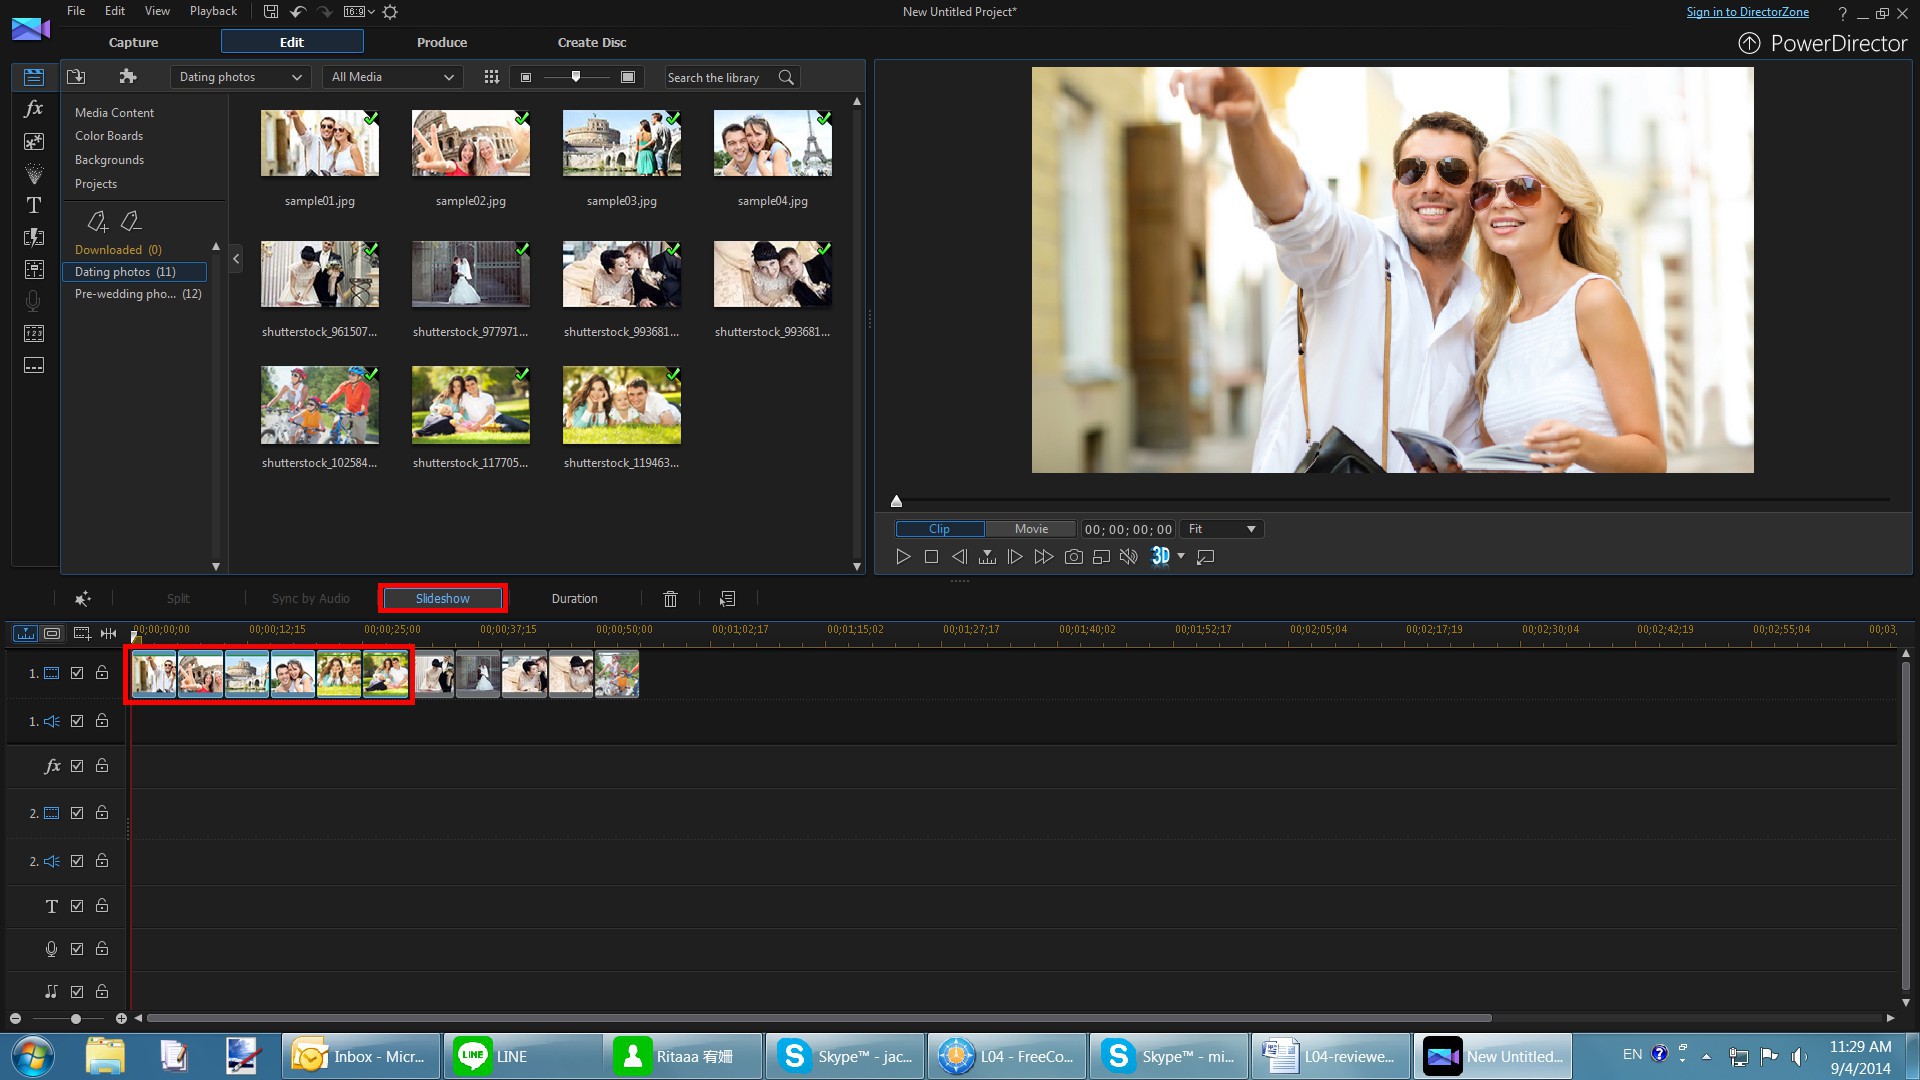
2. Select some of the photos, and then click the Slideshow button above the timeline.

3. Select the Montage slideshow style, and then click Next.
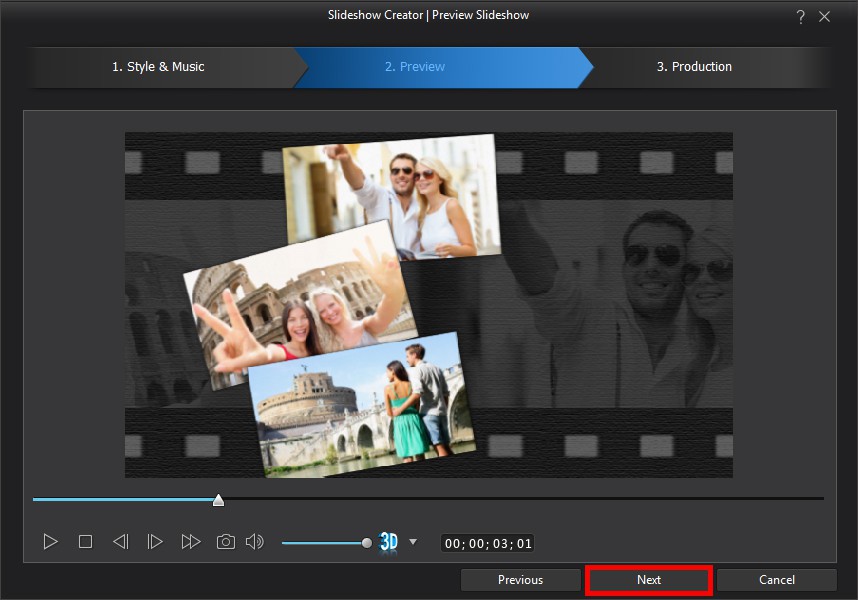
4. Click Next again.
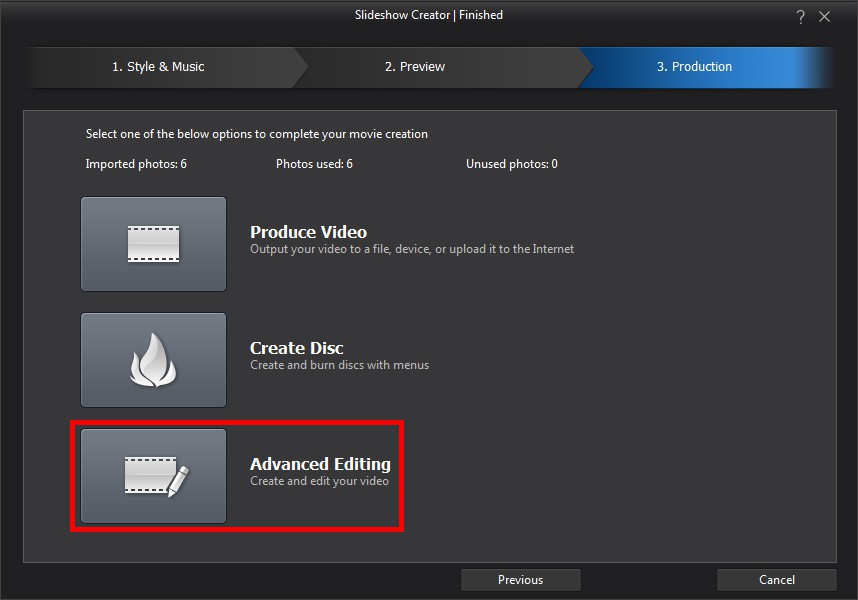
5. Click Advanced Editing to create a slideshow with the select photos on the PowerDirector timeline.
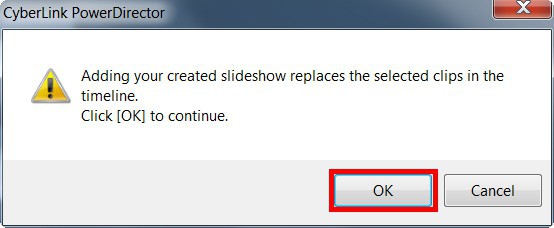
6. Click OK.
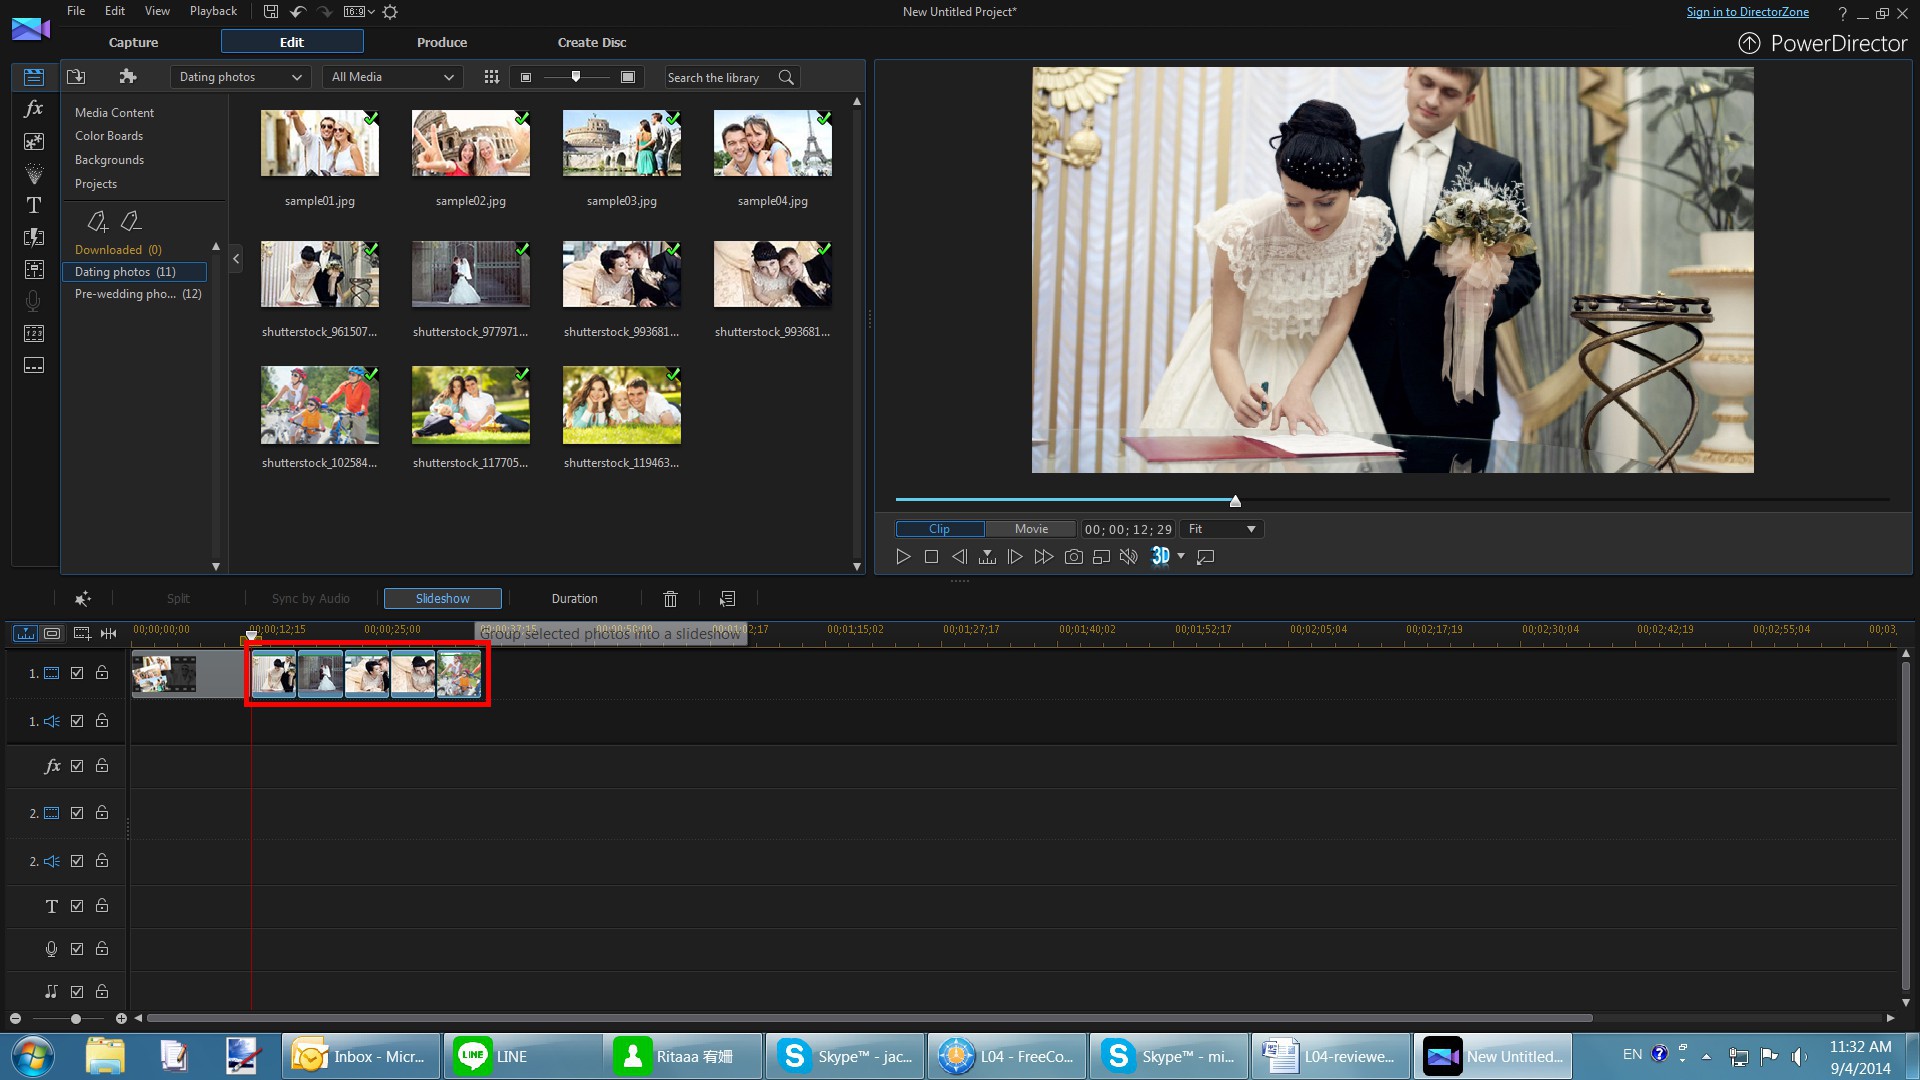
7. The previously selected photos are now a slideshow video.
Slideshow - The highlight template
1. Select the rest of the photos, and then click the Slideshow button again.
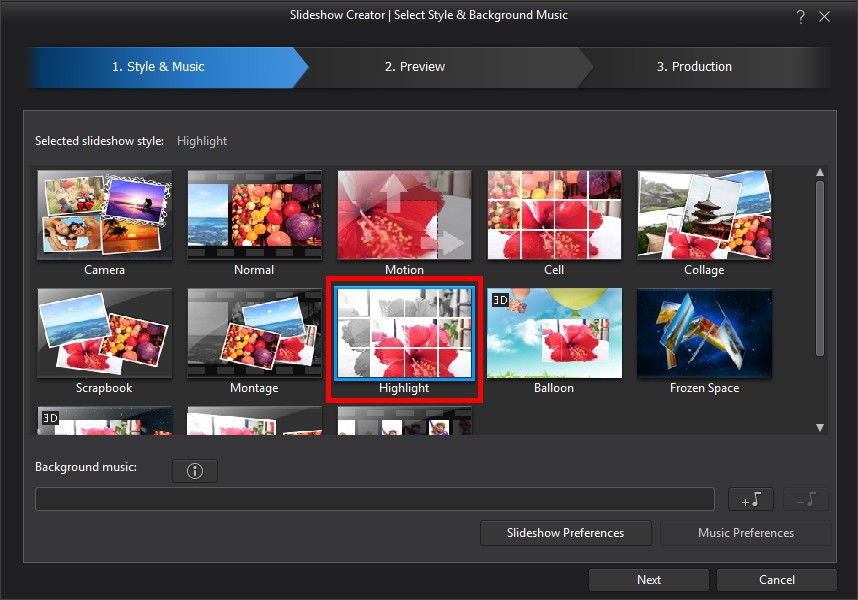
2. Select the Highlight style template, and then click Next.
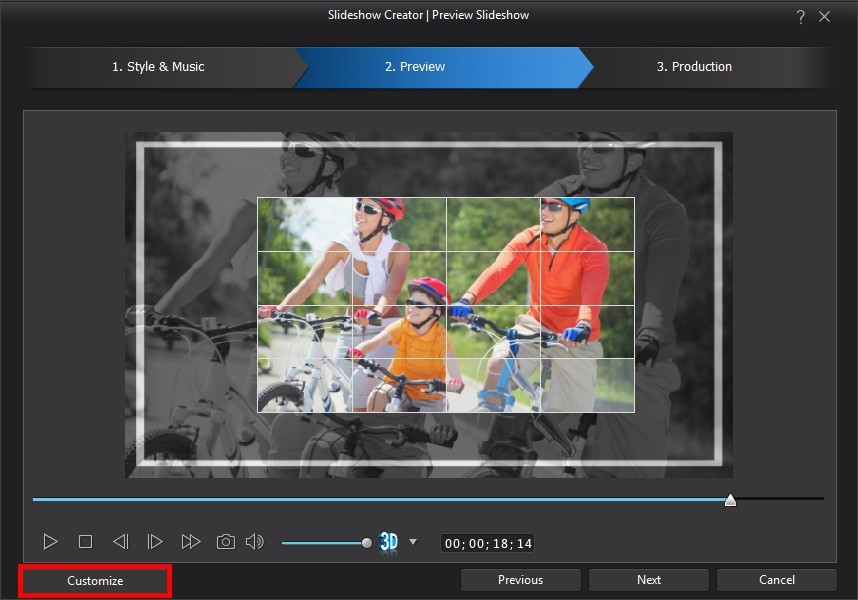
3. Click on  to customize the slideshow.
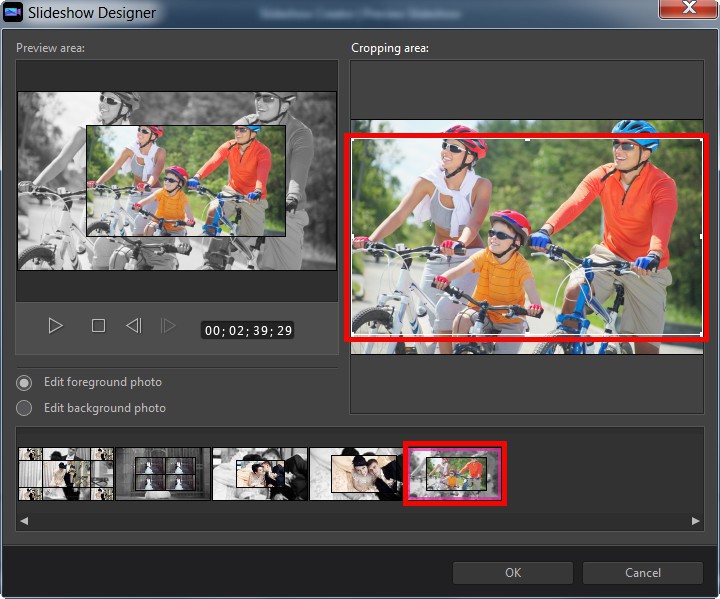
4. Select a photo that needs adjusting in the slide area, and then set the cropping area.
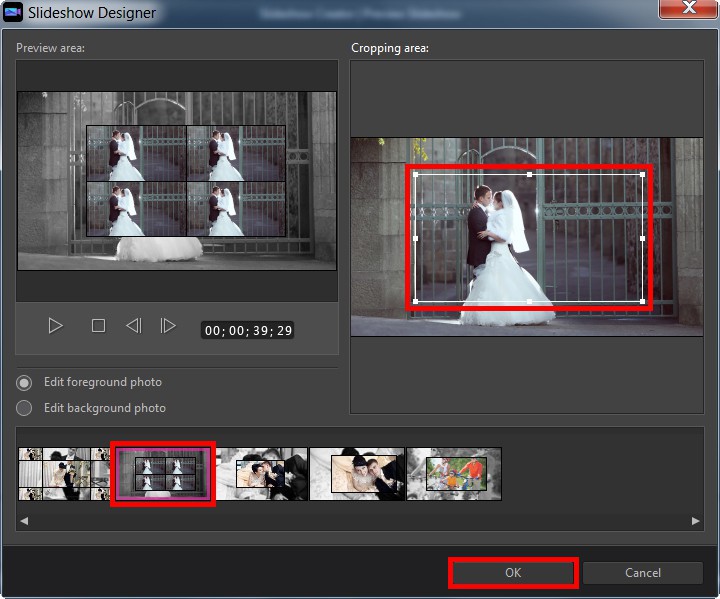
5. Set the cropping areas for the other photos.
6. Click OK.
7. Click Next.
8. Select Advanced Editing to create the slideshow and import it into the PowerDirector timline.
Slideshow - The motion template
1. Select the pre-wedding photos on editing track 1 and the click the Slideshow button.
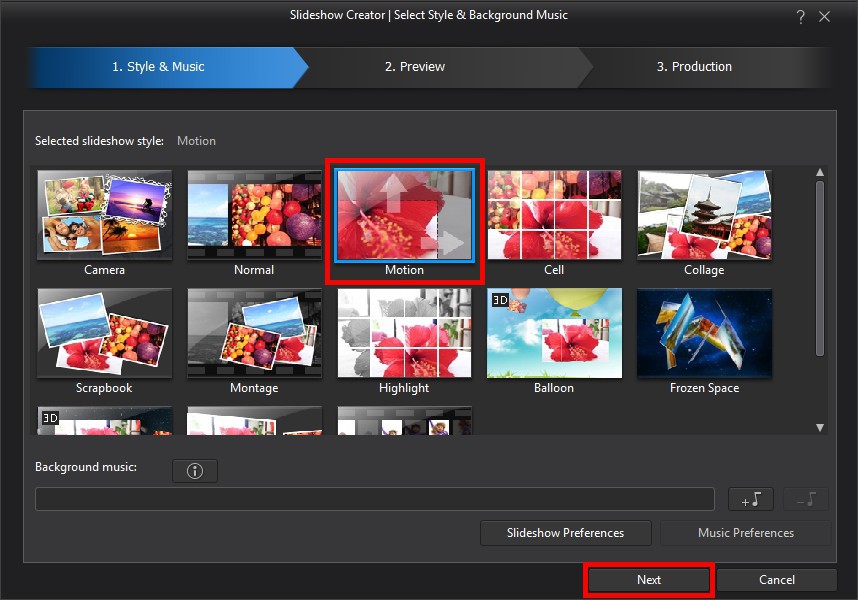
2. Select Motion style template, and then click Next.
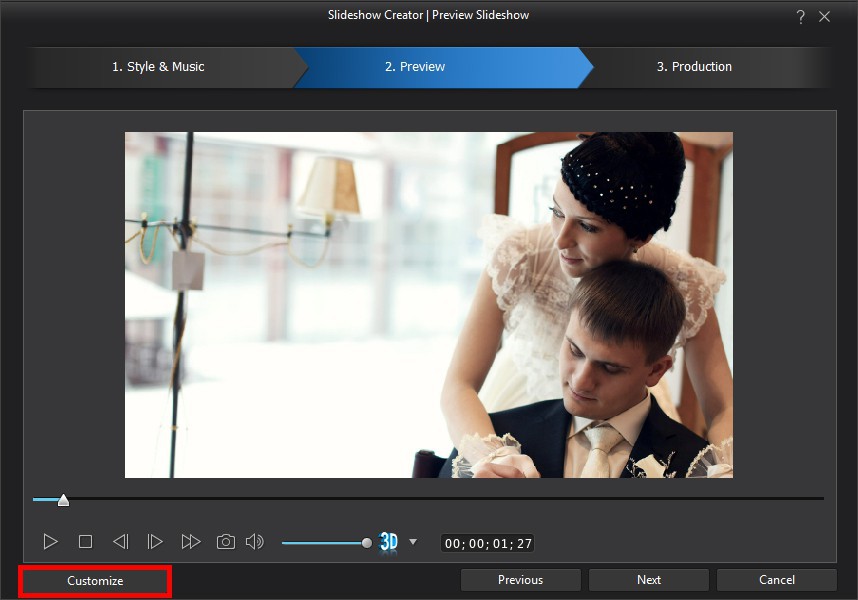
3. Click on  to customize the slideshow.
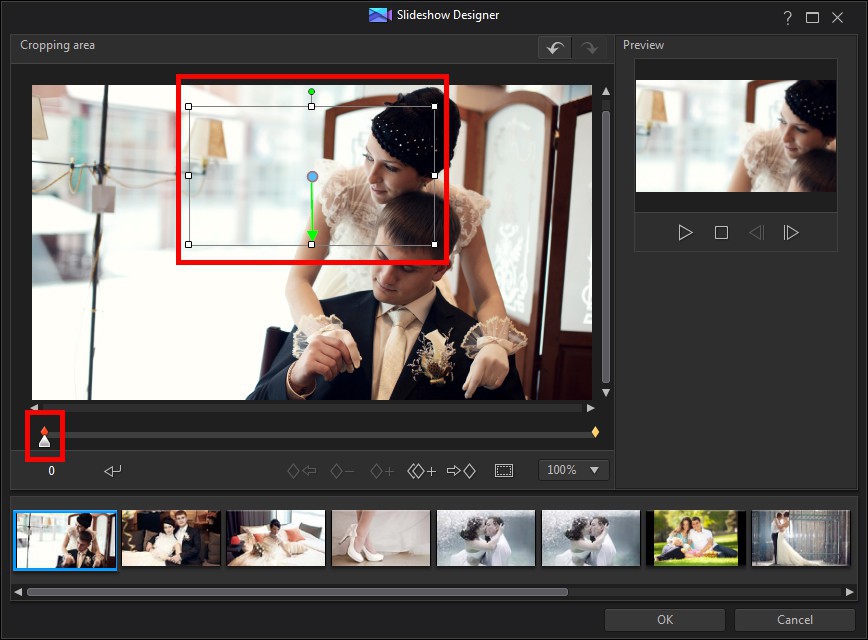
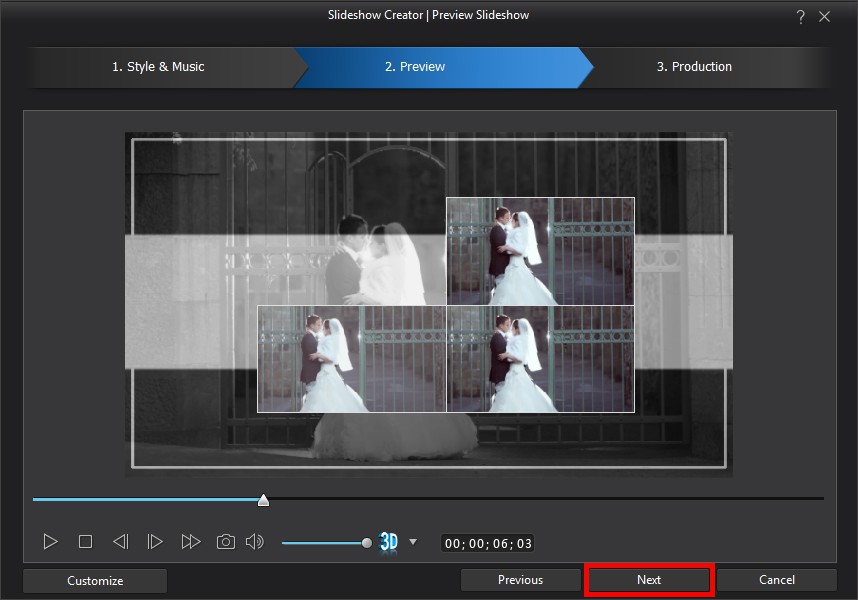
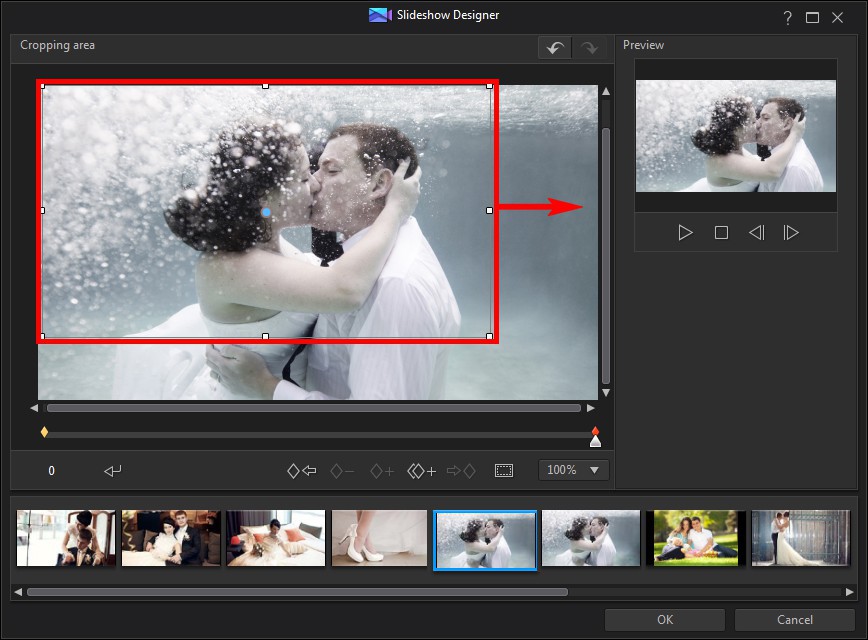
4. Click on the first keyframe and then set the cropping area for the photo.
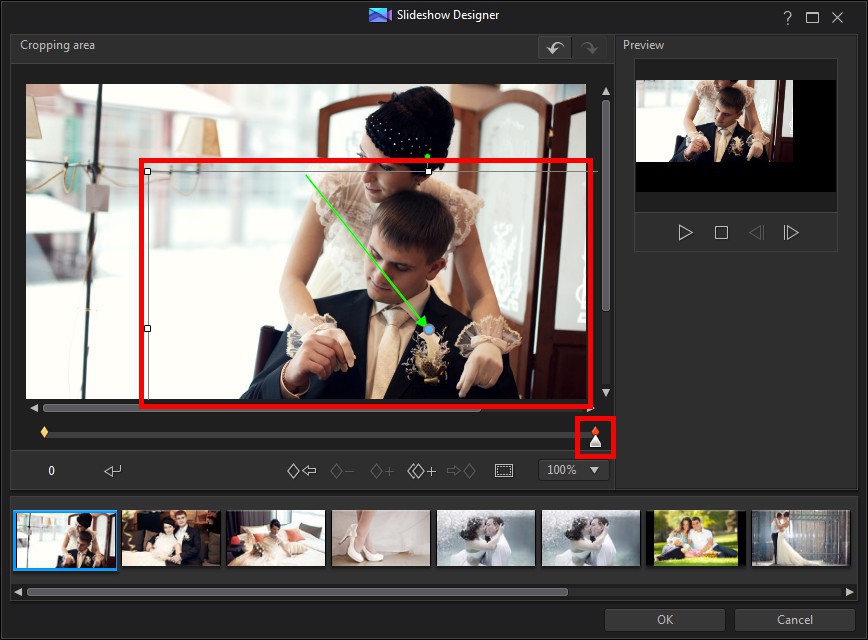
5. Click on the second keyframe and set the cropping area for the photo.
Extra information
You set the movement on the photo using these two keyframes
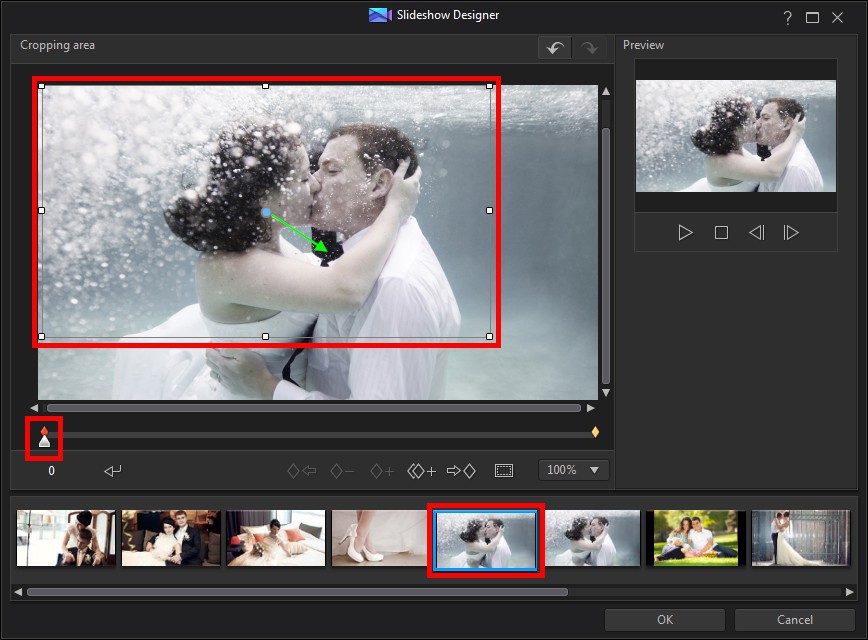
6. Click on another photo, and then repeat step 4.
Extra information
The motion on this photo is panning from left to right. So make sure both keyframes' cropping areas are of the same size to create the best results.
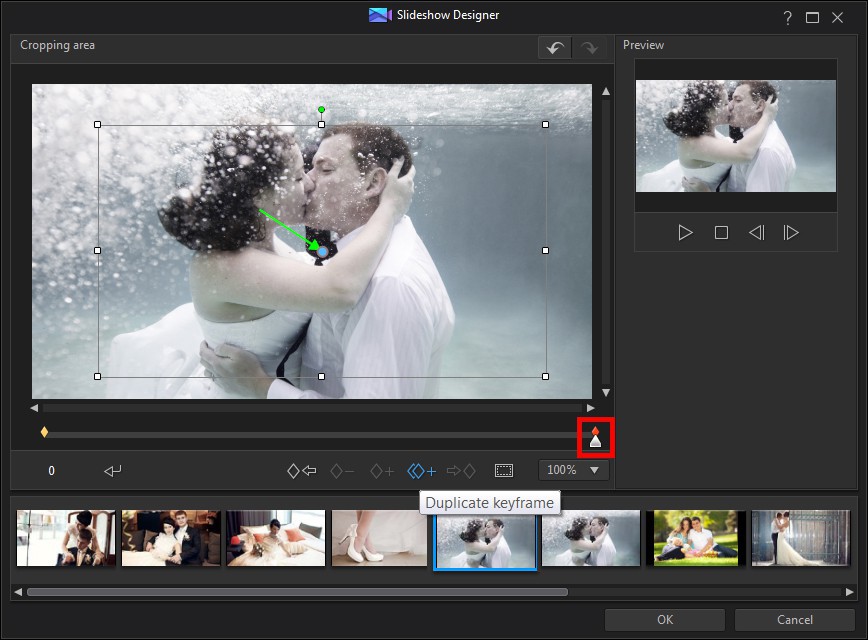
7. Click on the second keyframe, and then click  .
.

8. Select Duplicate Previous Keyframe.
9. Move the cropping area to the right.
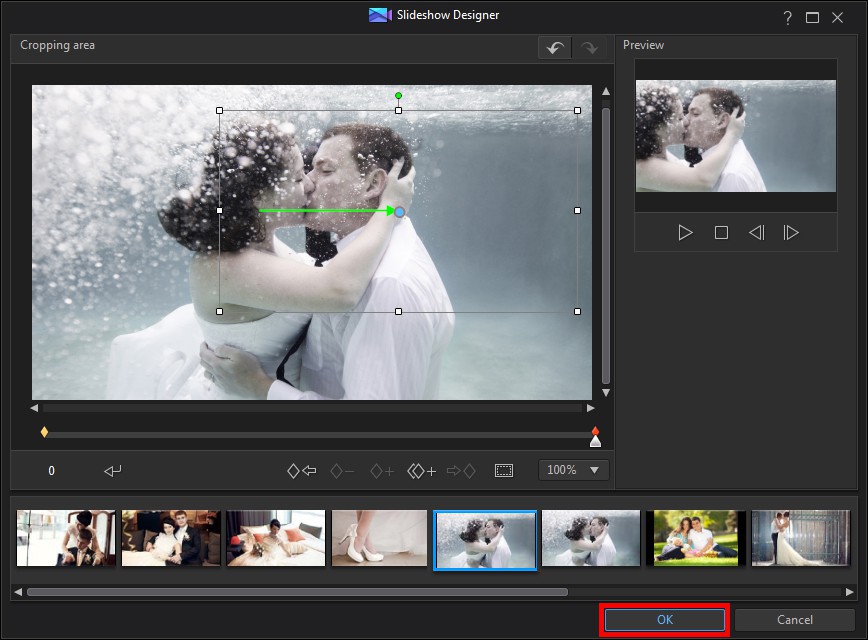
10. Once you're done, click OK.
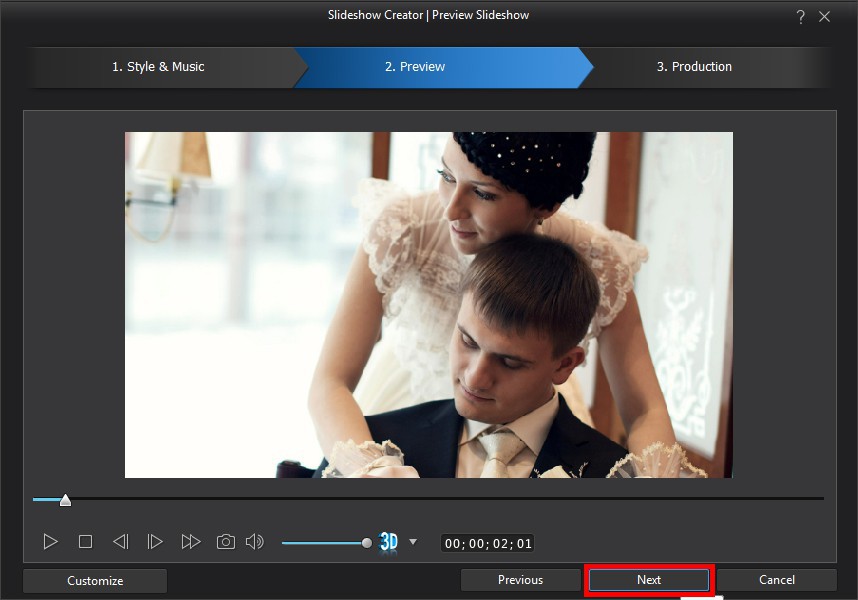
11. Click Next.
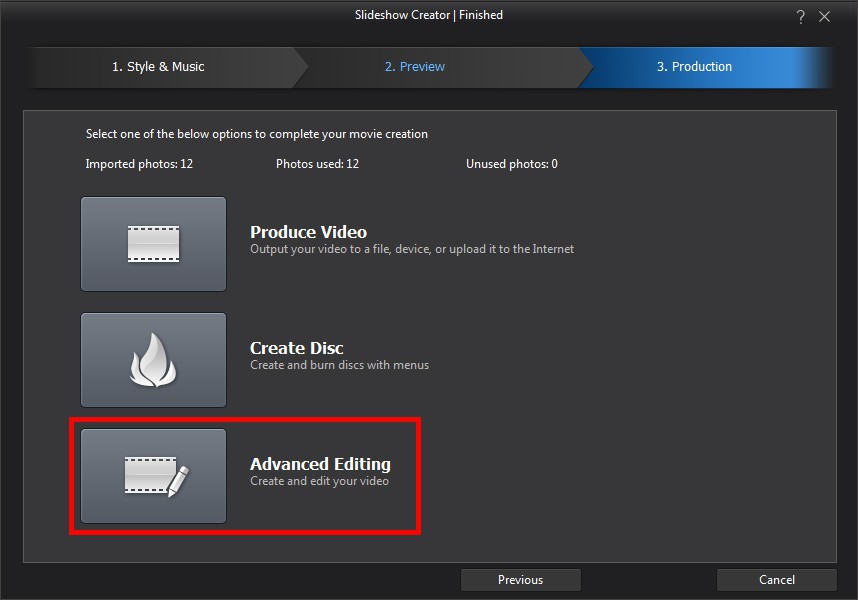
12. Select Advanced Editing to import the created slideshow in the PowerDirector timeline.

13. Click OK.
14. Your slideshow is complete.
When all the editing is done, click Produce to create a video file, or click Create Disc to burn video to DVD or Blu-ray discs.
Get PowerDirector 365 Essential for Free
Take your videos to the next level with the best video editor for Windows PC
