
How to Create a Lomo Effect with PhotoDirector [Tutorial]

Toy cameras give a distinct look to photos, which can be easily replicated in PhotoDirector to create a fun, vintage image. In this tutorial, we will go through the steps of creating a lomo look.
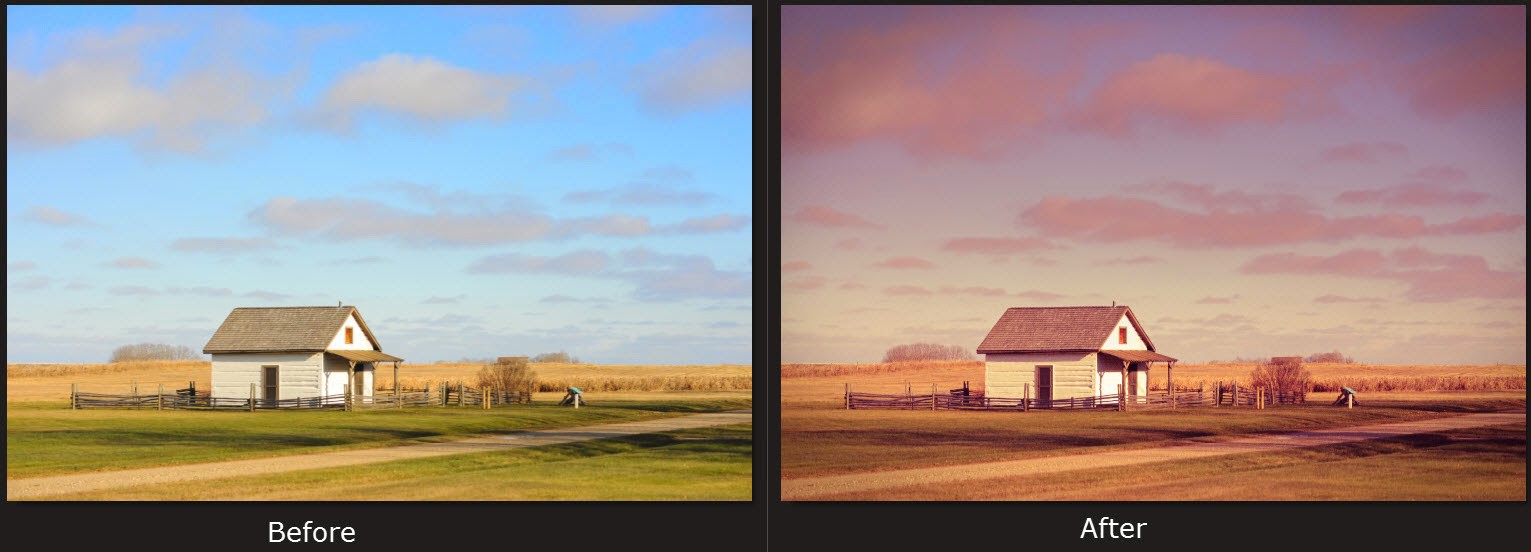
Here are the before and after images:
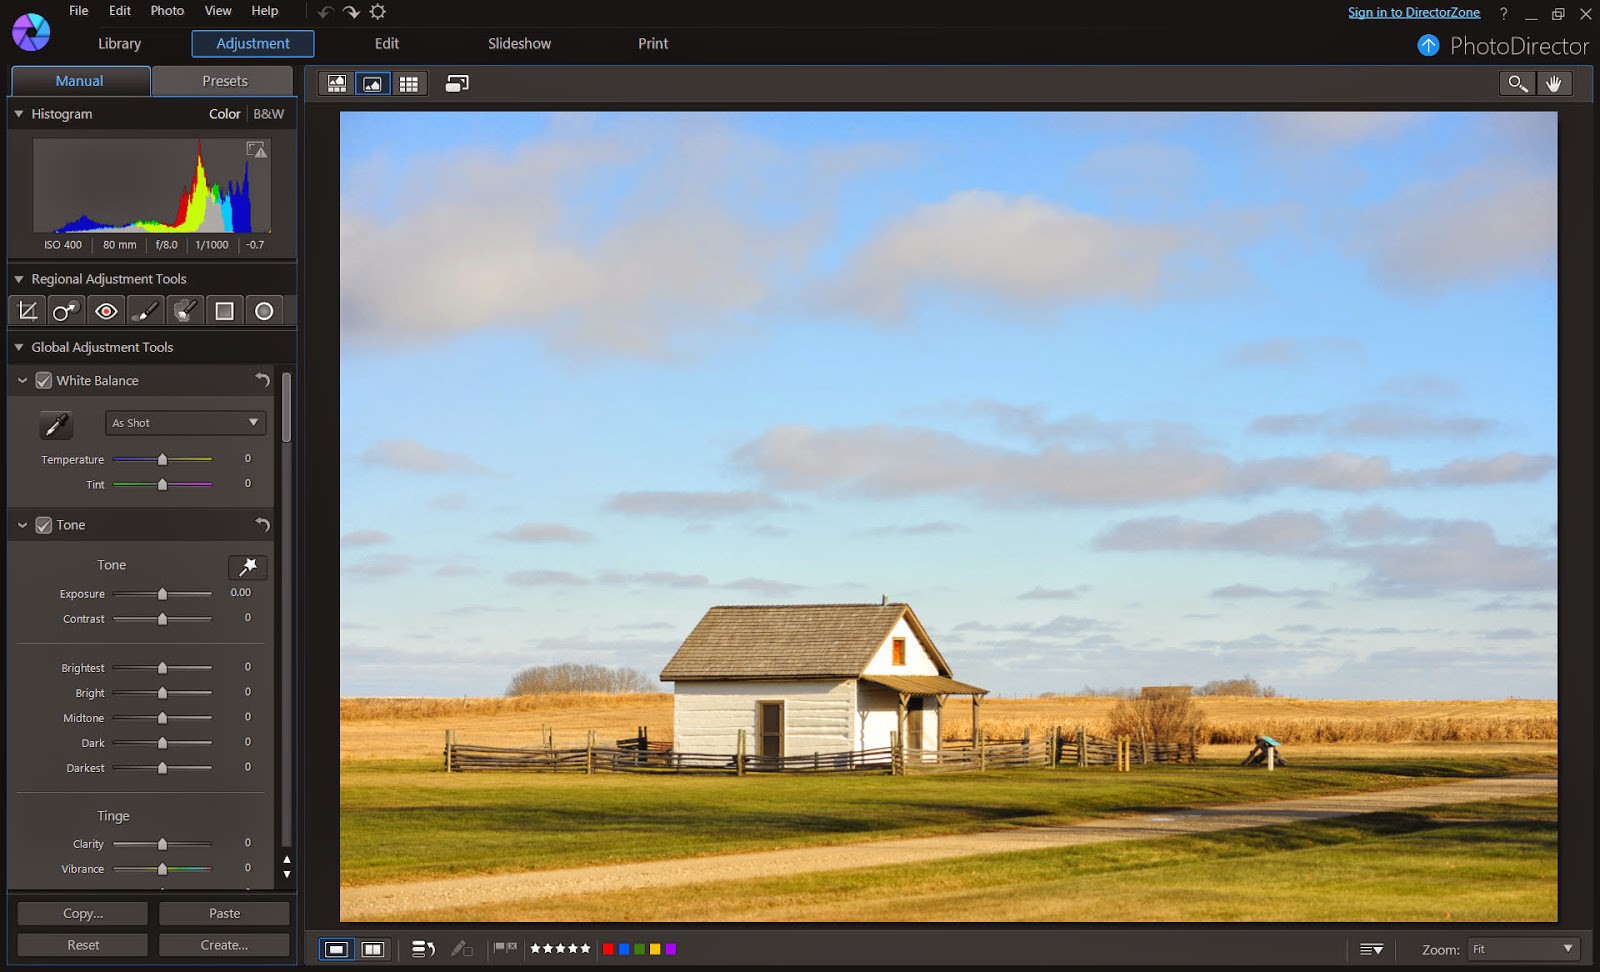
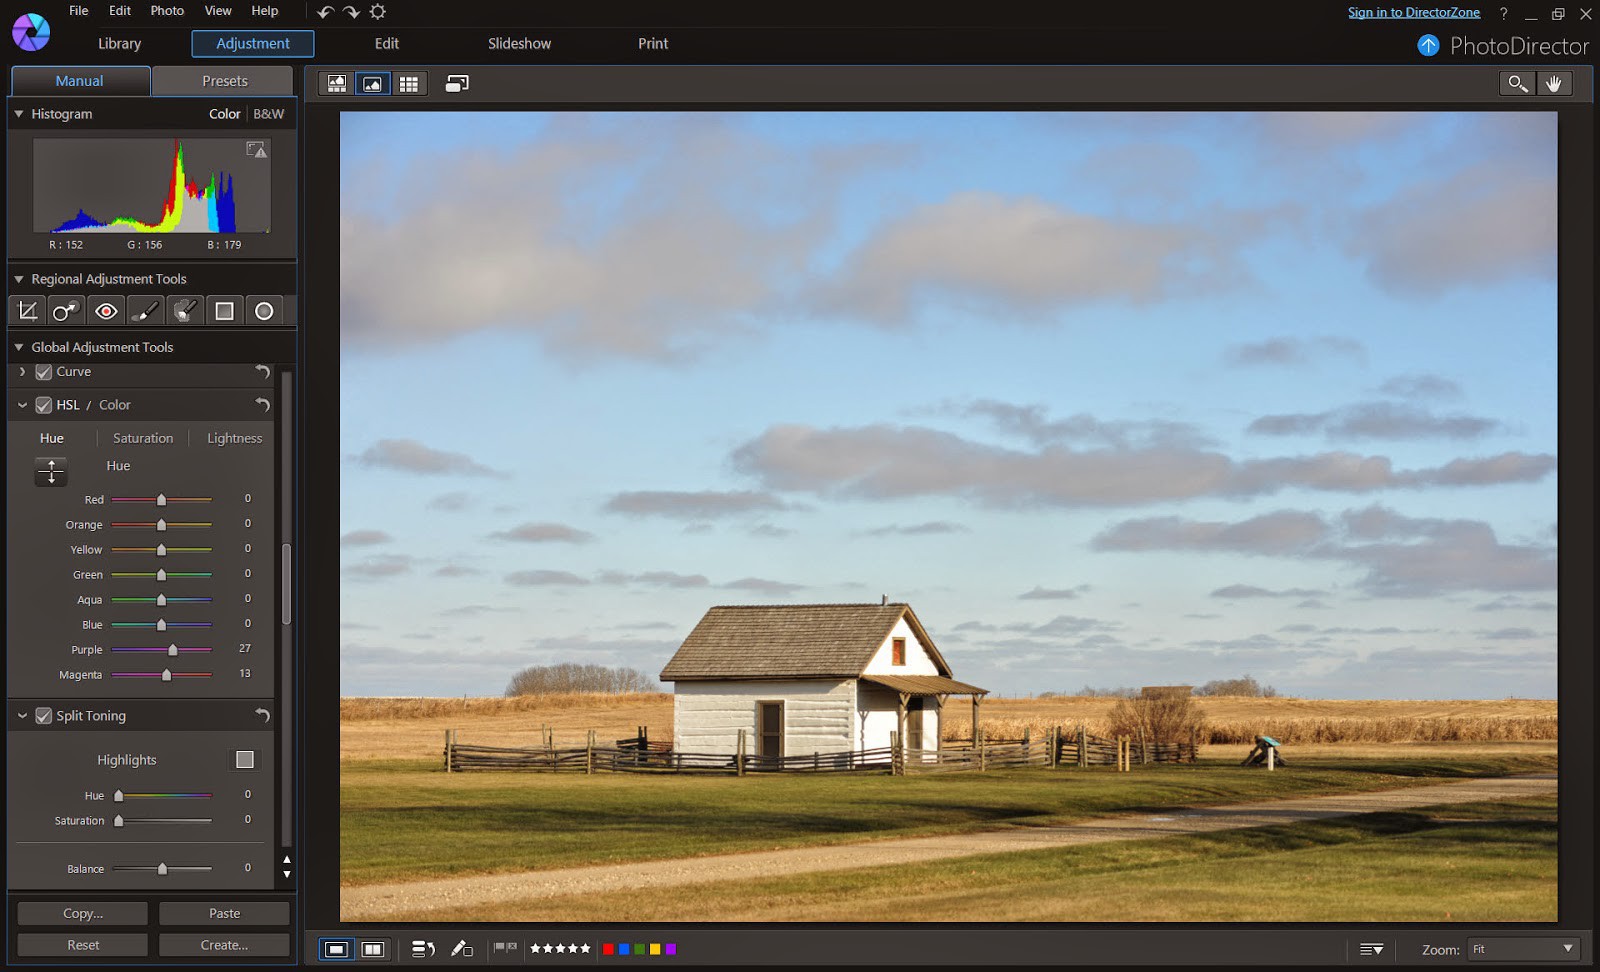
Here is the original image after importing to PhotoDirector.
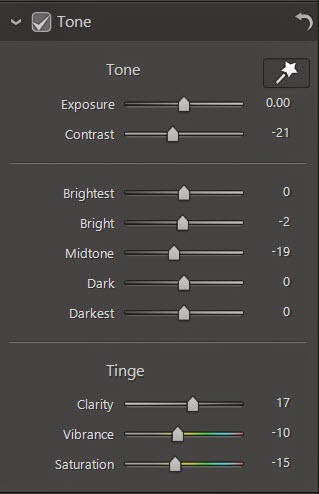
The first step is to make a few global adjustment to the photo. Adjustments required for each photo can be unique, the basic idea is to tone down the contrast and color.
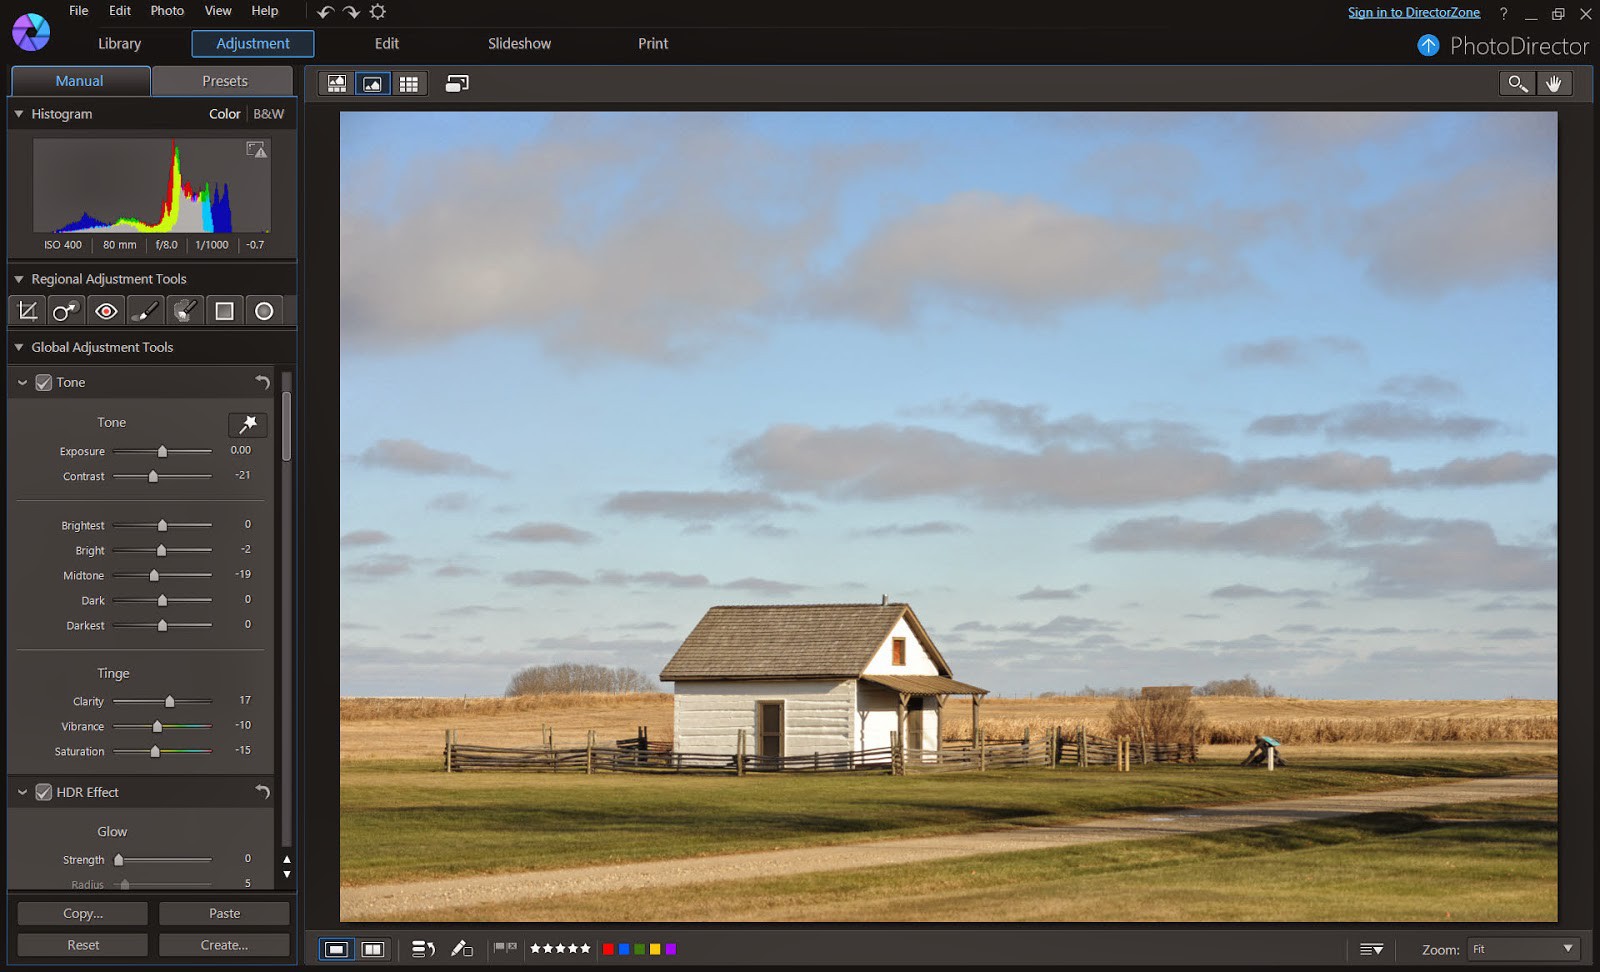
The screen capture below displays the adjustment made in Contrast, Brightness, Clarity, Vibrance and Saturation.
Next, a Medium Contrast is selected in the Level section.
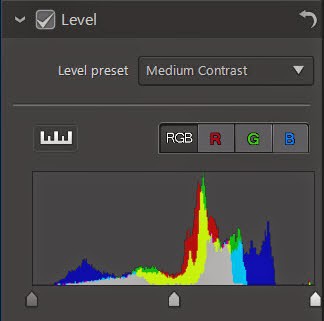
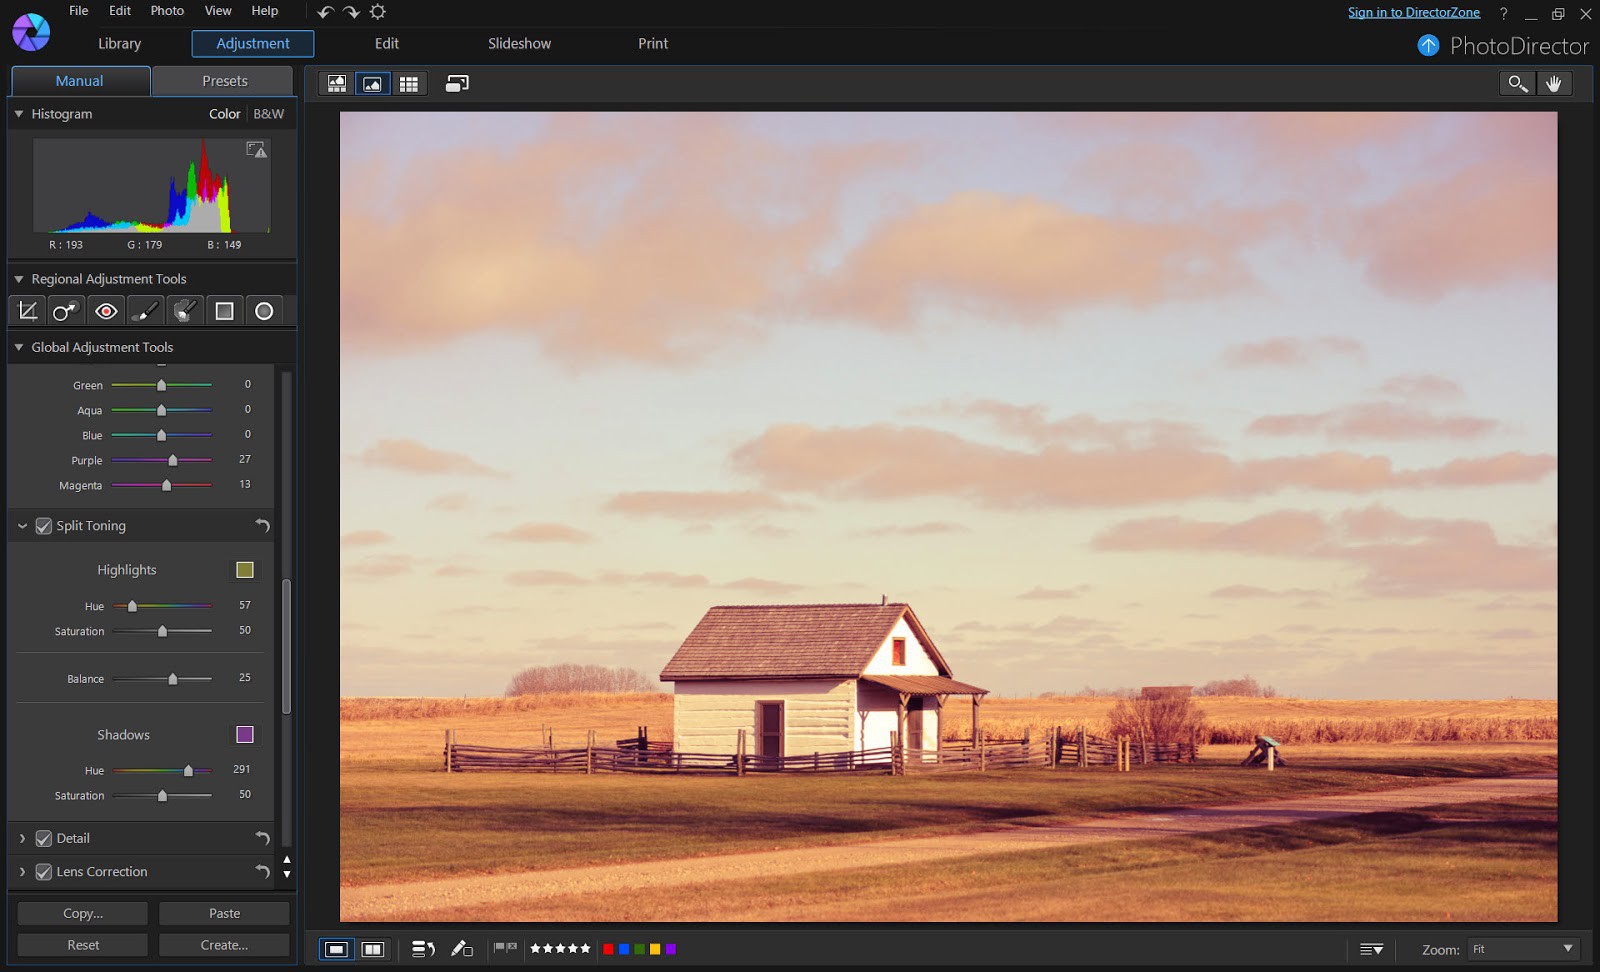
The purple and magenta colors are enhanced in the Color section. Purple +27, Magenta +13
Next is being creative with Split Toning, the adjustments made are: In the Highlights, Hue 57, Saturation 50. In the Shadows, Hue 291, Saturation 50. And the Balance 25.
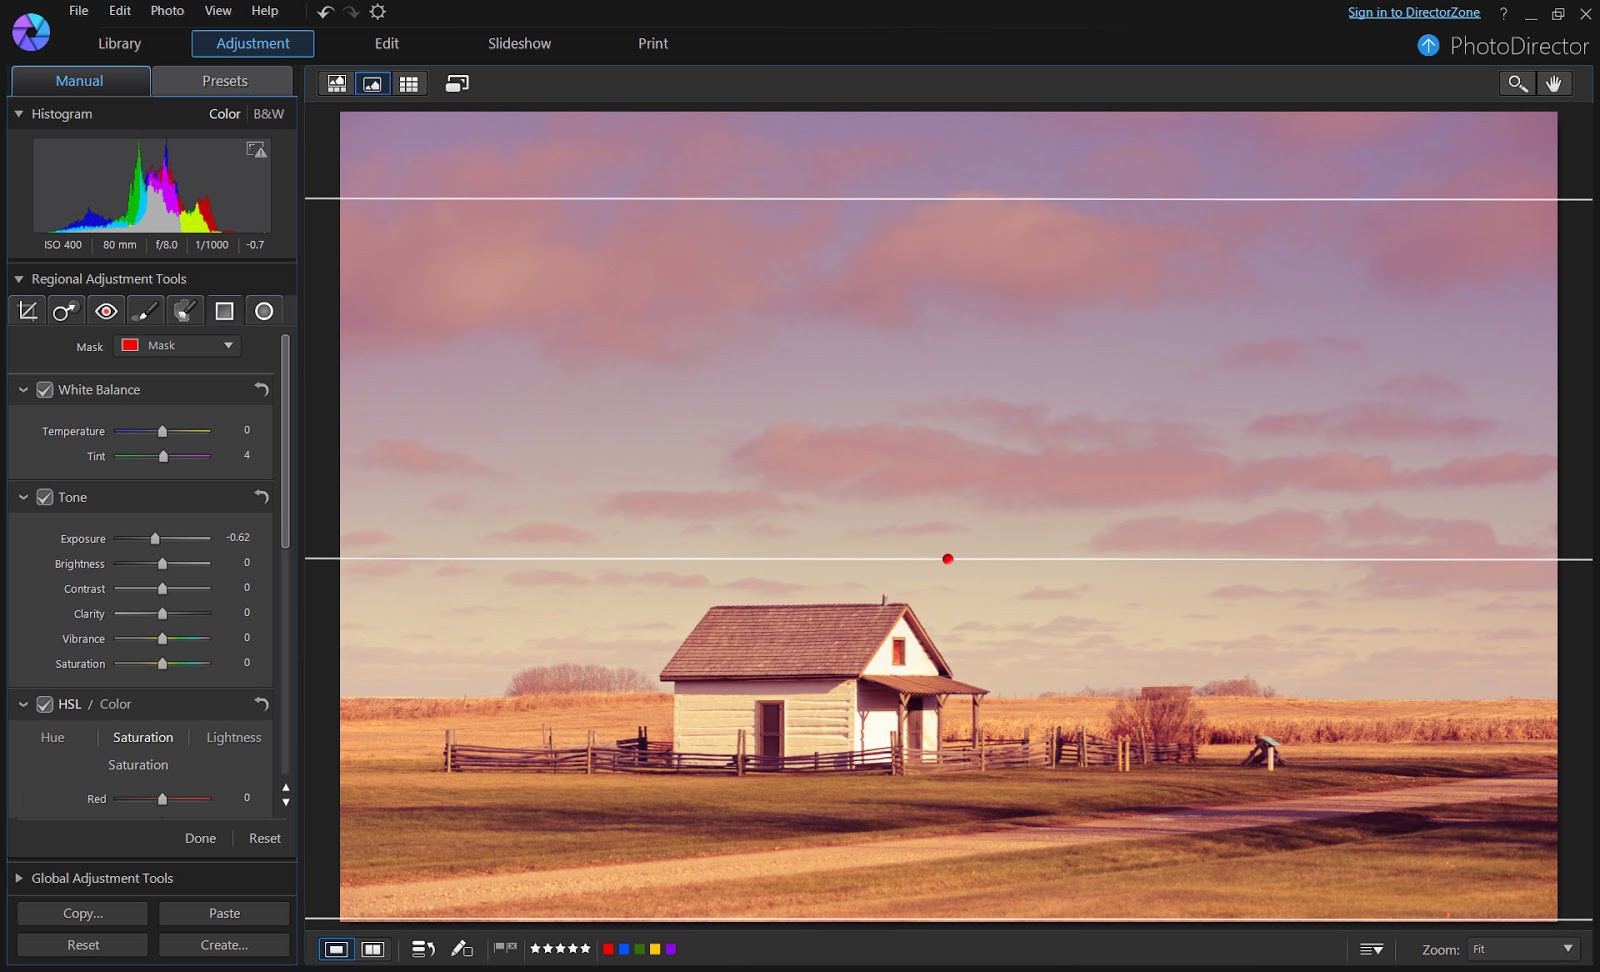
The sky seemed too bright, applying a gradient mask to tone it down.
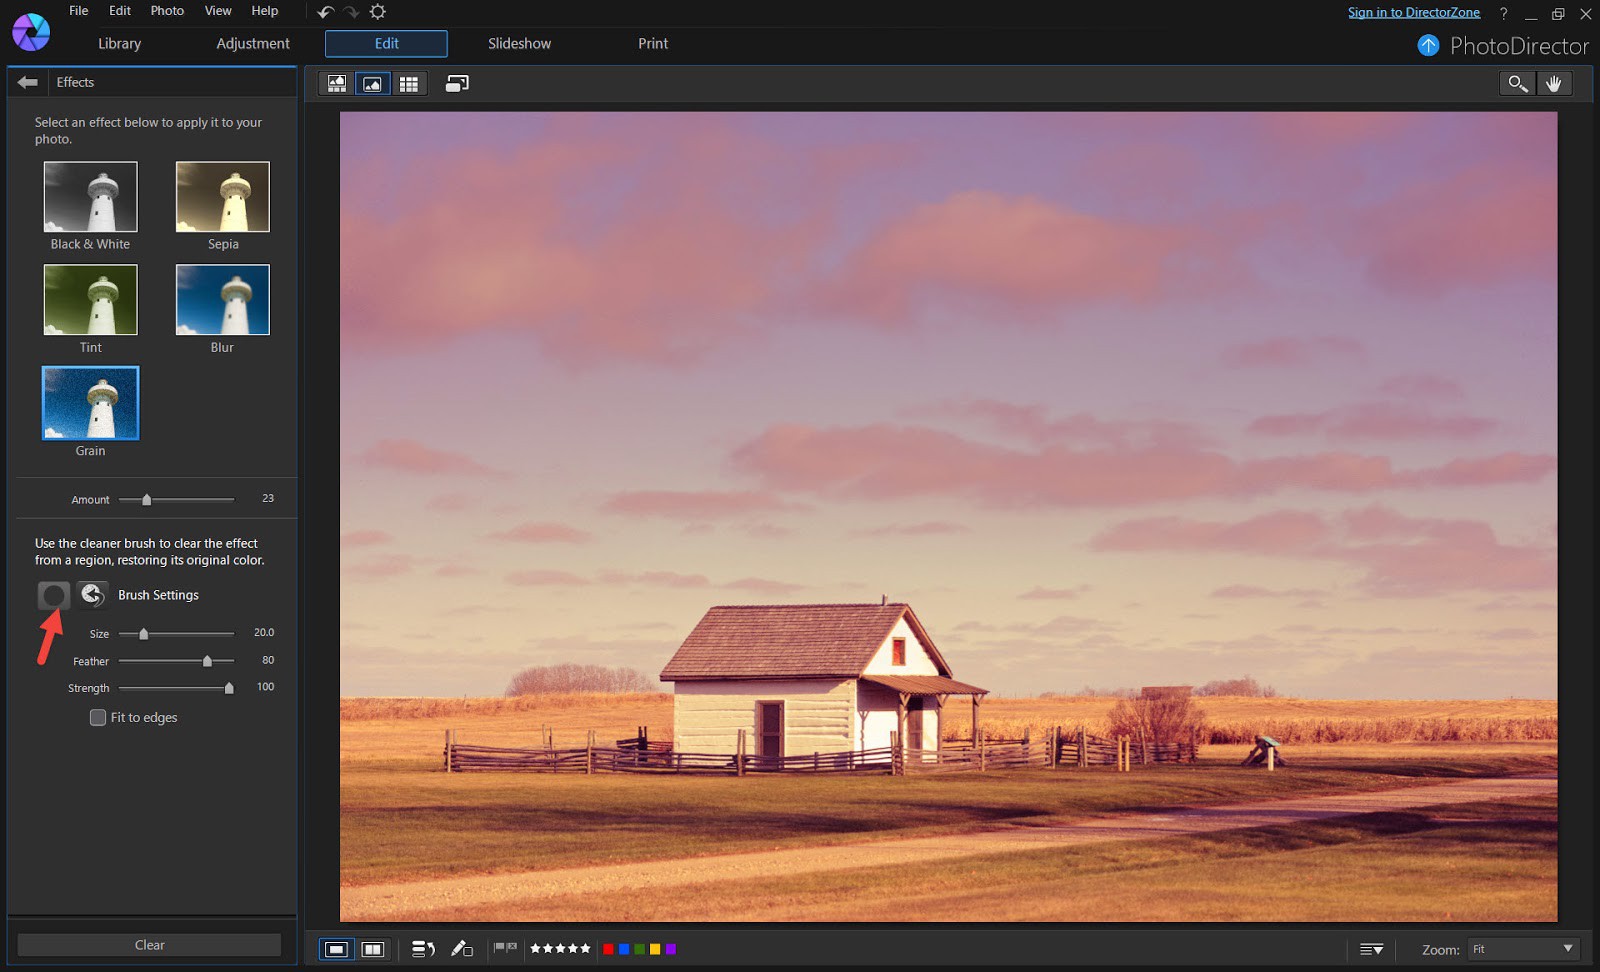
Next the two must-haves in every vintage look: Grain and Vignette. Go to the Edit Module, and the Grain effect can be added in the Effect section.
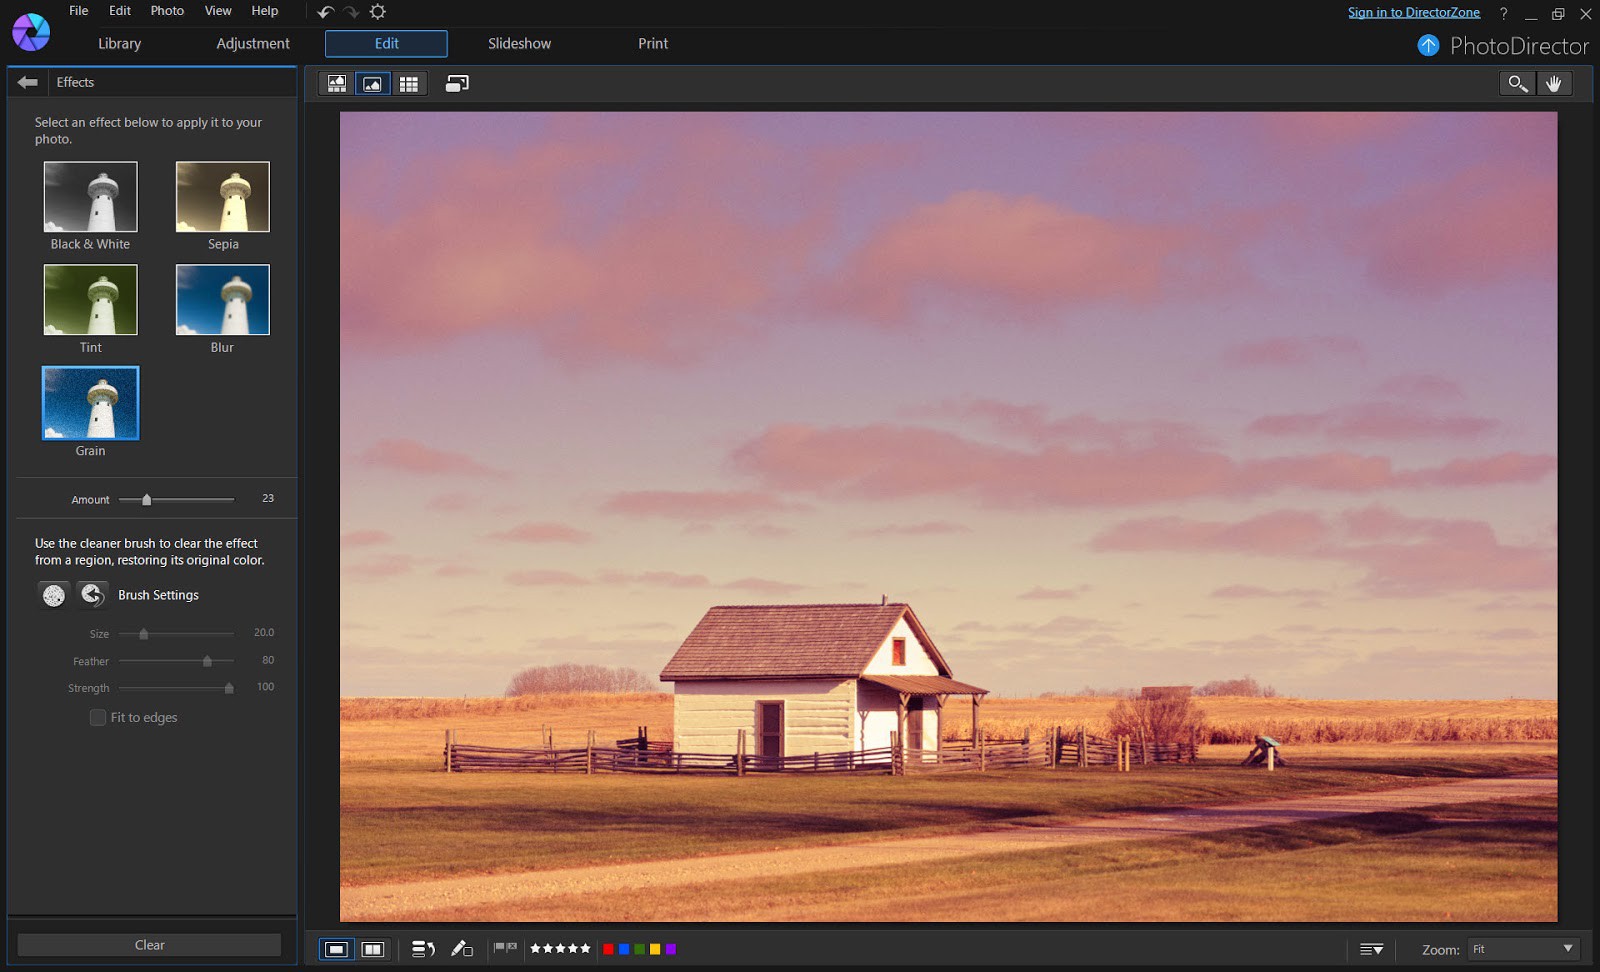
The sky does not look that great with so much grain. The good thing in PhotoDirector is the Brush Tool where you can create a mask to tone down the grain effect in any part of the image. So, by simply brushing on the skies, it looks more smooth now.
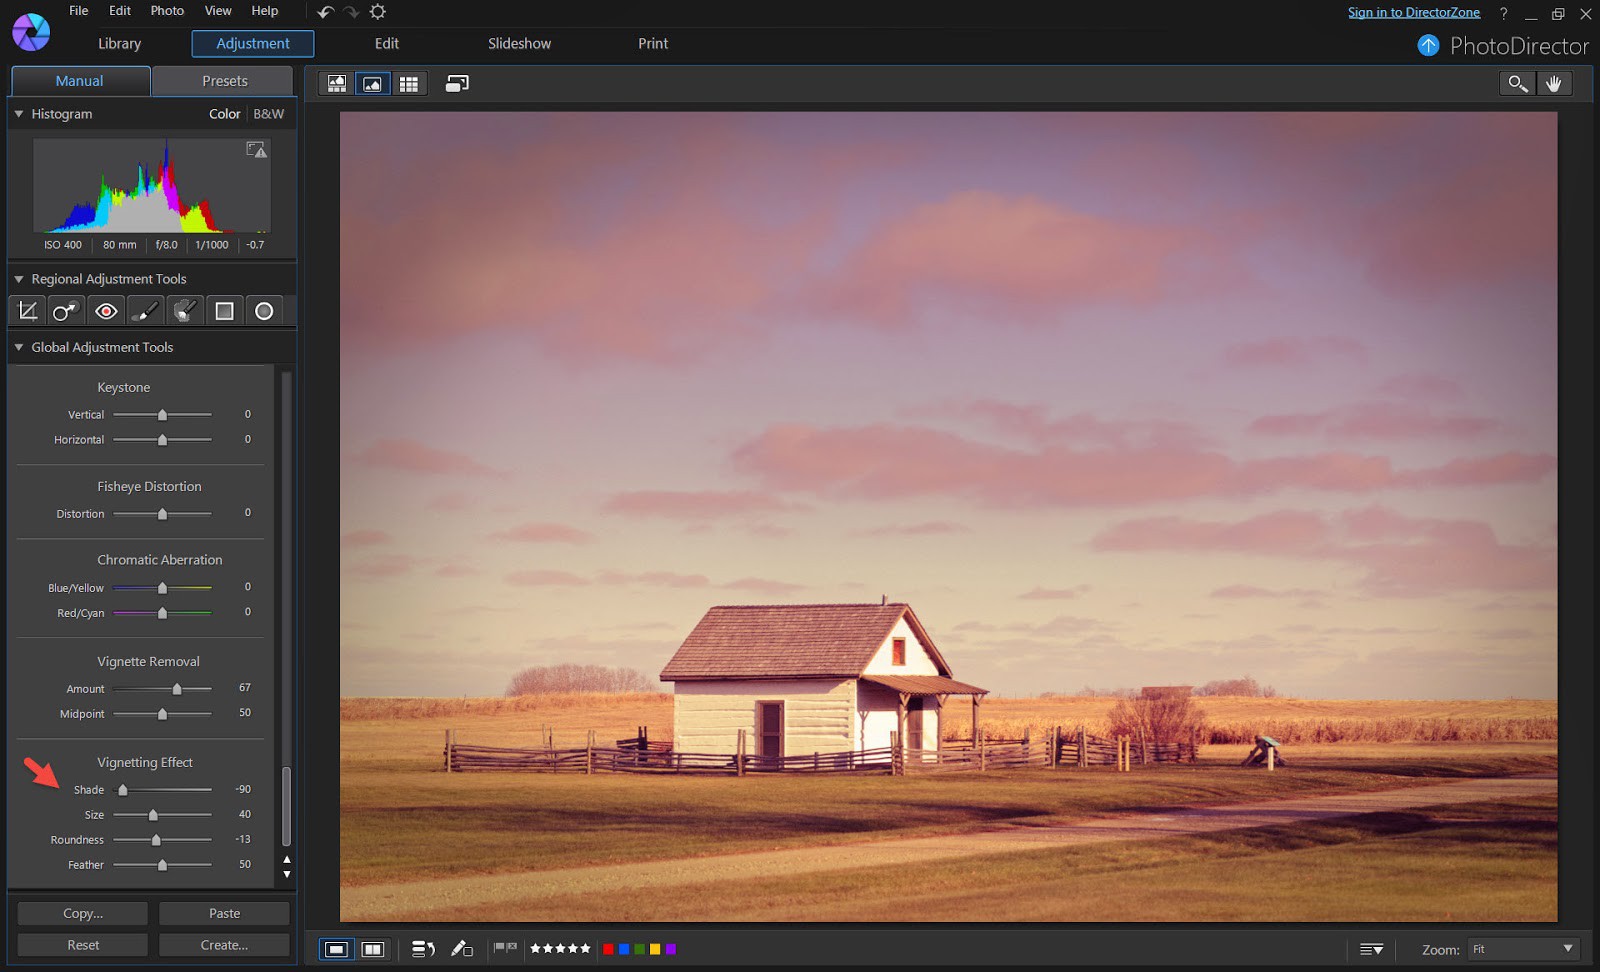
Lastly, the go back to the Adjustment module to apply Vignette.
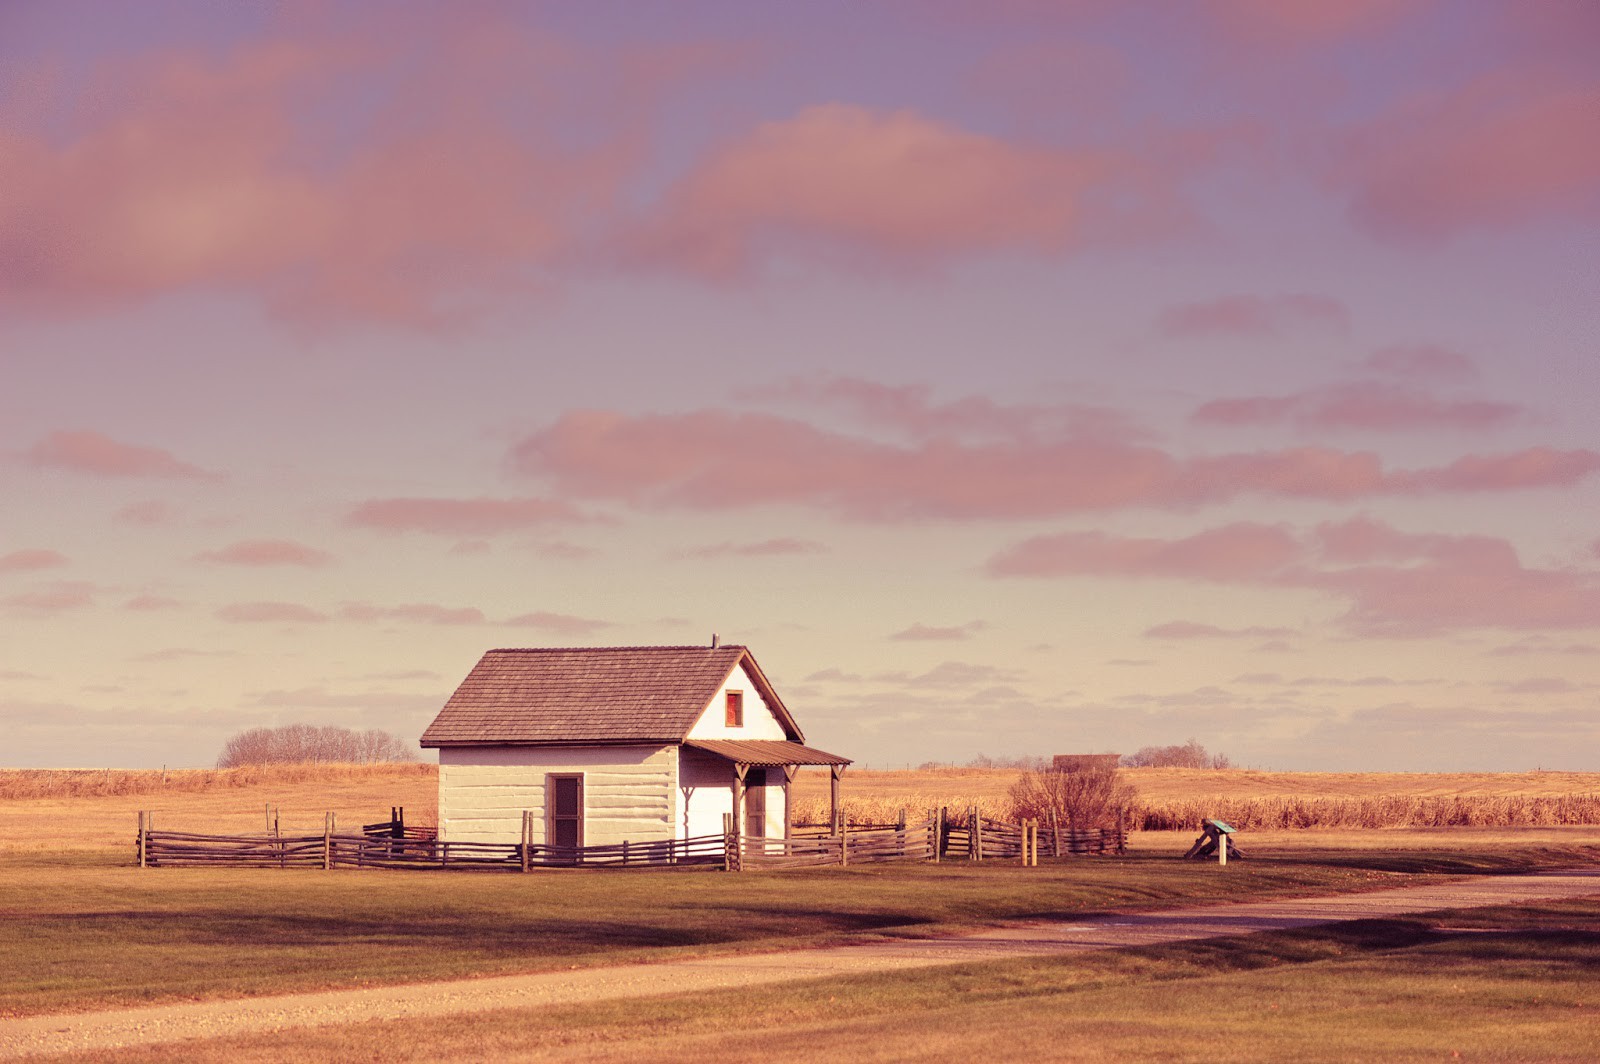
And the final image... ta dah!
This Lomo effect is saved as a Preset and for a faster workflow, your can download it from DirectorZone here.
PhotoDirector 2026 Essential
Free Software With 30-Day Premium Features
