

How to Remove Red-Eye in Your Photos for Free

Have you ever taken a photo of a friend or loved one, only to realize that their eyes look red in the image? If so, you’ve fallen victim to the red-eye effect.
The red-eye effect can draw viewers’ attention away from the beauty in your photo. Thankfully, you can easily use an editing program to fix red-eye in post-production. In this guide, we’ll teach you how to use the PhotoDirector app to remove red-eye.

Continue reading to learn how to remove red-eye from pictures.
- How to remove red eyes from photos on your Android phone
- How to Remove Red-Eye on Windows and Mac
- Effective Ways to Prevent Red-Eyes in Your Images
- 5 Other Touch-up Tools You Should Know About
- Download The Best Red-Eye Remover for Free
- FAQ About Removing Red-Eye
How to remove red eyes from photos on your Android phone
To remove red eyes from photos on your Android phone, we recommend using PhotoDirector, a completely free app available on both Google Play store & App store. Once you have installed the app on your Android device, follow these steps:
- Open PhotoDirector, tap Edit and select the photo you want to touch up.
- Select Red Eye in the Portrait tool.
- Use two fingers to zoom in on your photo to focus on the red-eye.
- Tap on each red eye with one finger. You will see a circle masking area appear.
- Adjust the masking area to correct the red-eye.
- Use the slider to adjust the opacity of the masking to look as natural as possible.
- When finished, press the check ✓ in the upper right corner to save the edit.
How to Remove Red-Eye on Windows and Mac
If you’ve already taken a photo and later noticed that the subject’s eyes appear red, don’t worry You can easily remove this effect using a photo editing program on your computer.
If you’re looking for a reliable photo editing program to get rid of red eyes and perform a range of other high-quality edits on your photos, we recommend PhotoDirector. This desktop program features numerous professional-level tools and effects that you can use to enhance your photography.
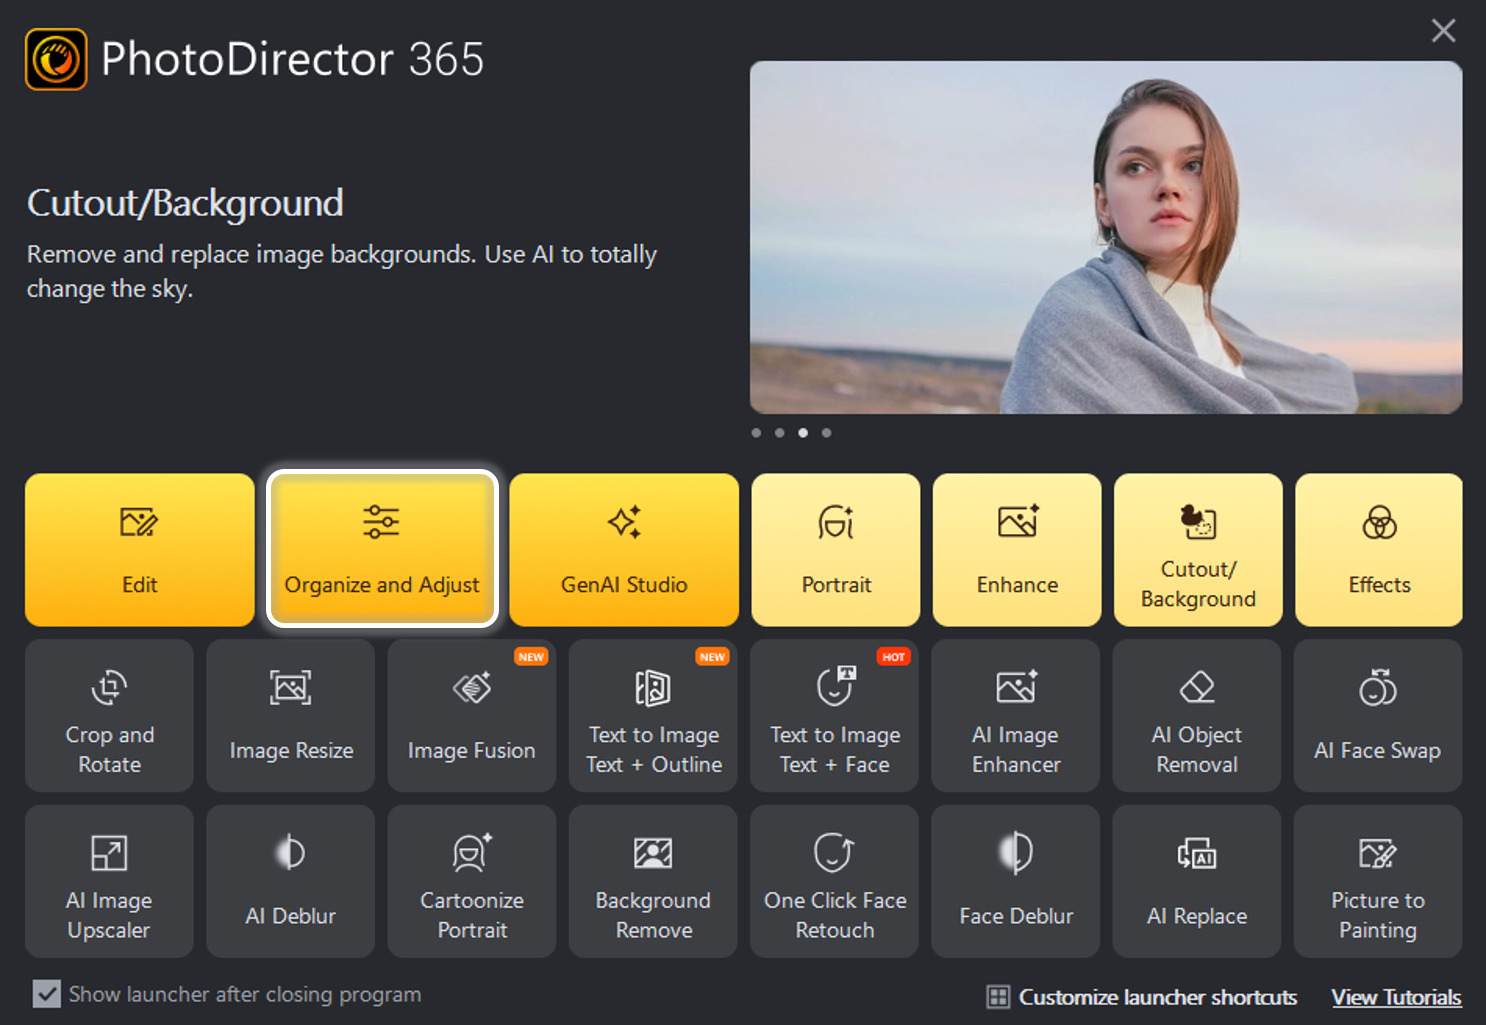
- Step 1 : Open PhotoDirector and select "Organize and Adjust"
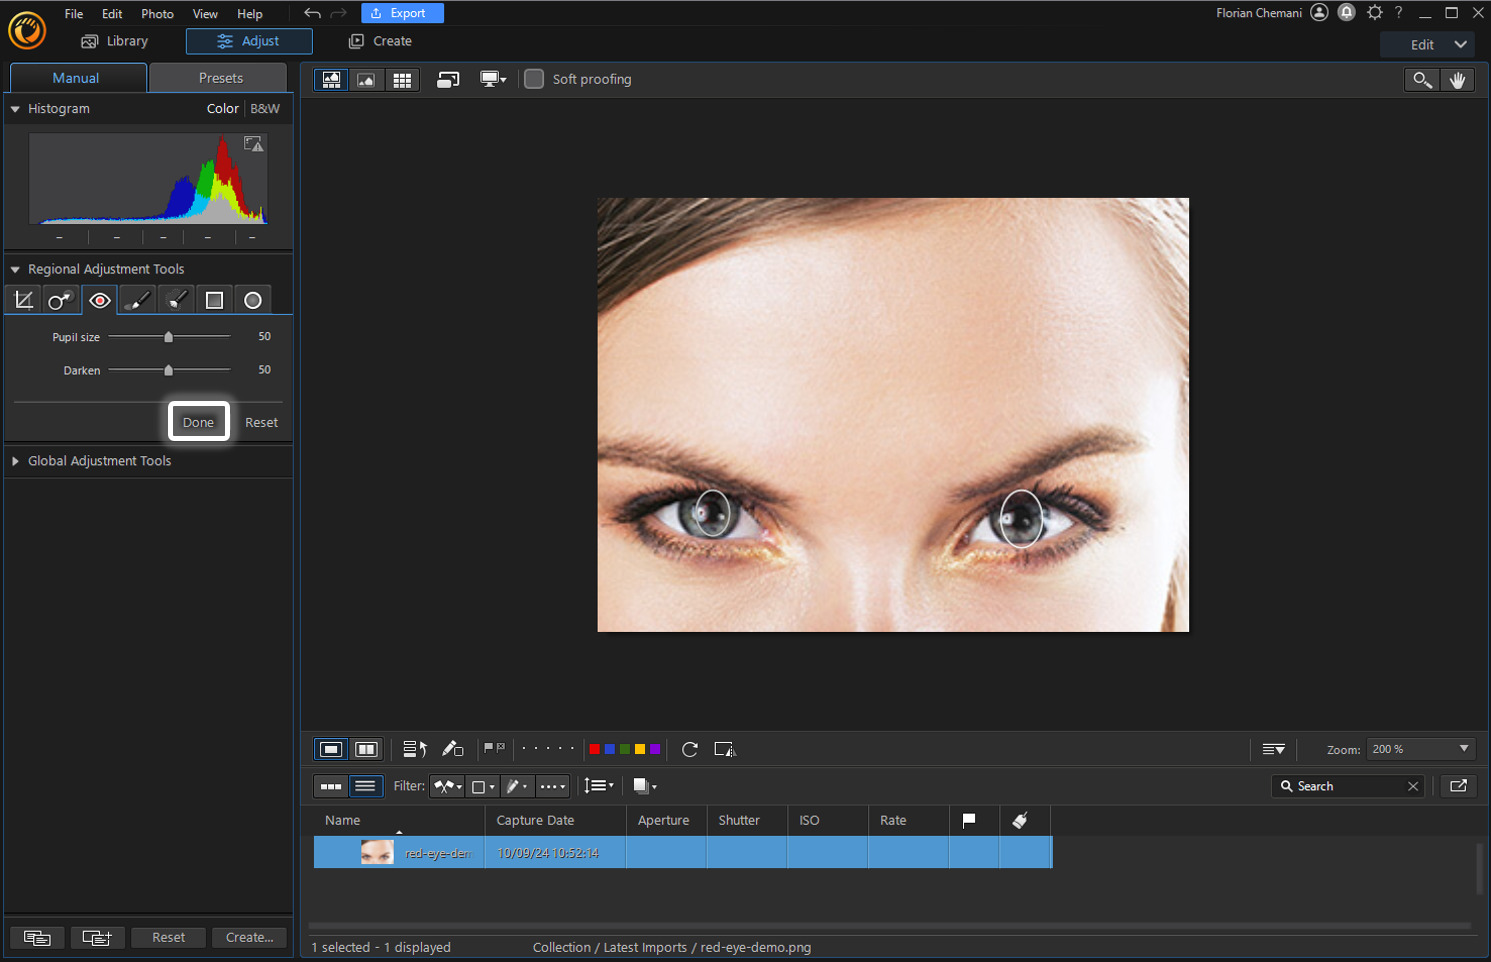
- Step 2 : Click on the red-eye removal icon
- Step 3 : Select the area you’d like to enhance to remove red-eye
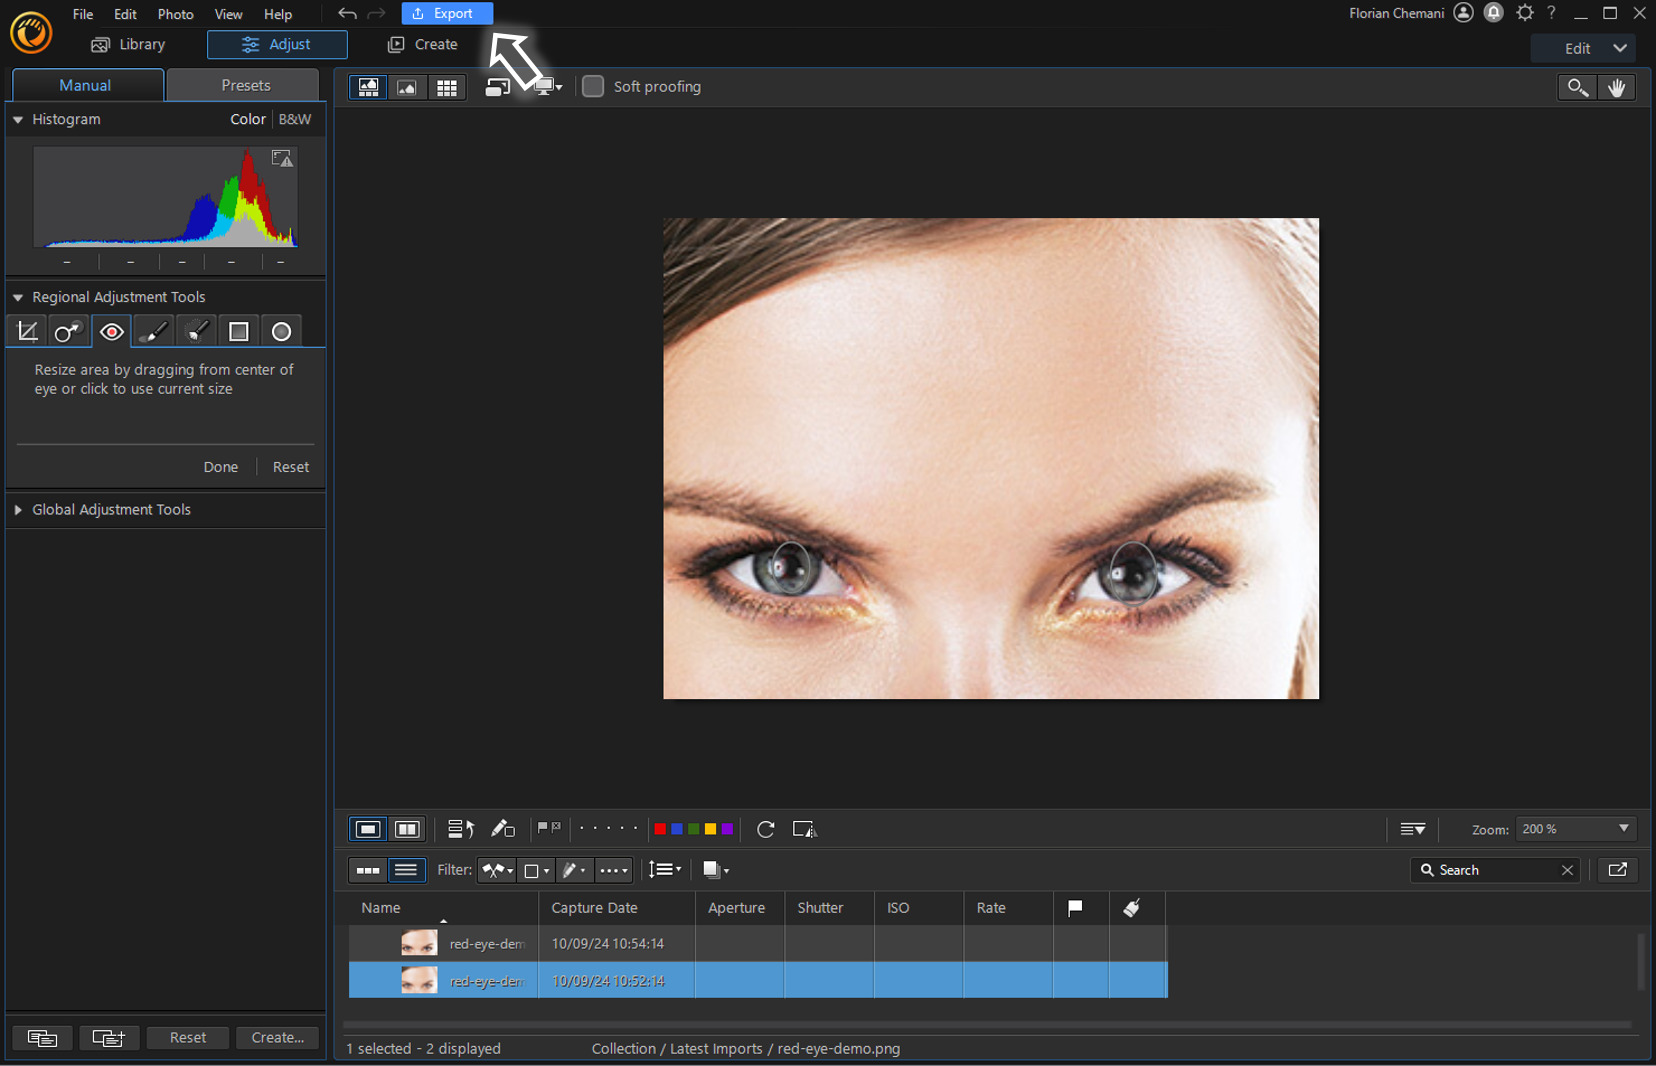
- Step 4 : Download your edited picture
- Open the "Organize and Adjust" menu.
- Click on the red-eye removal icon.
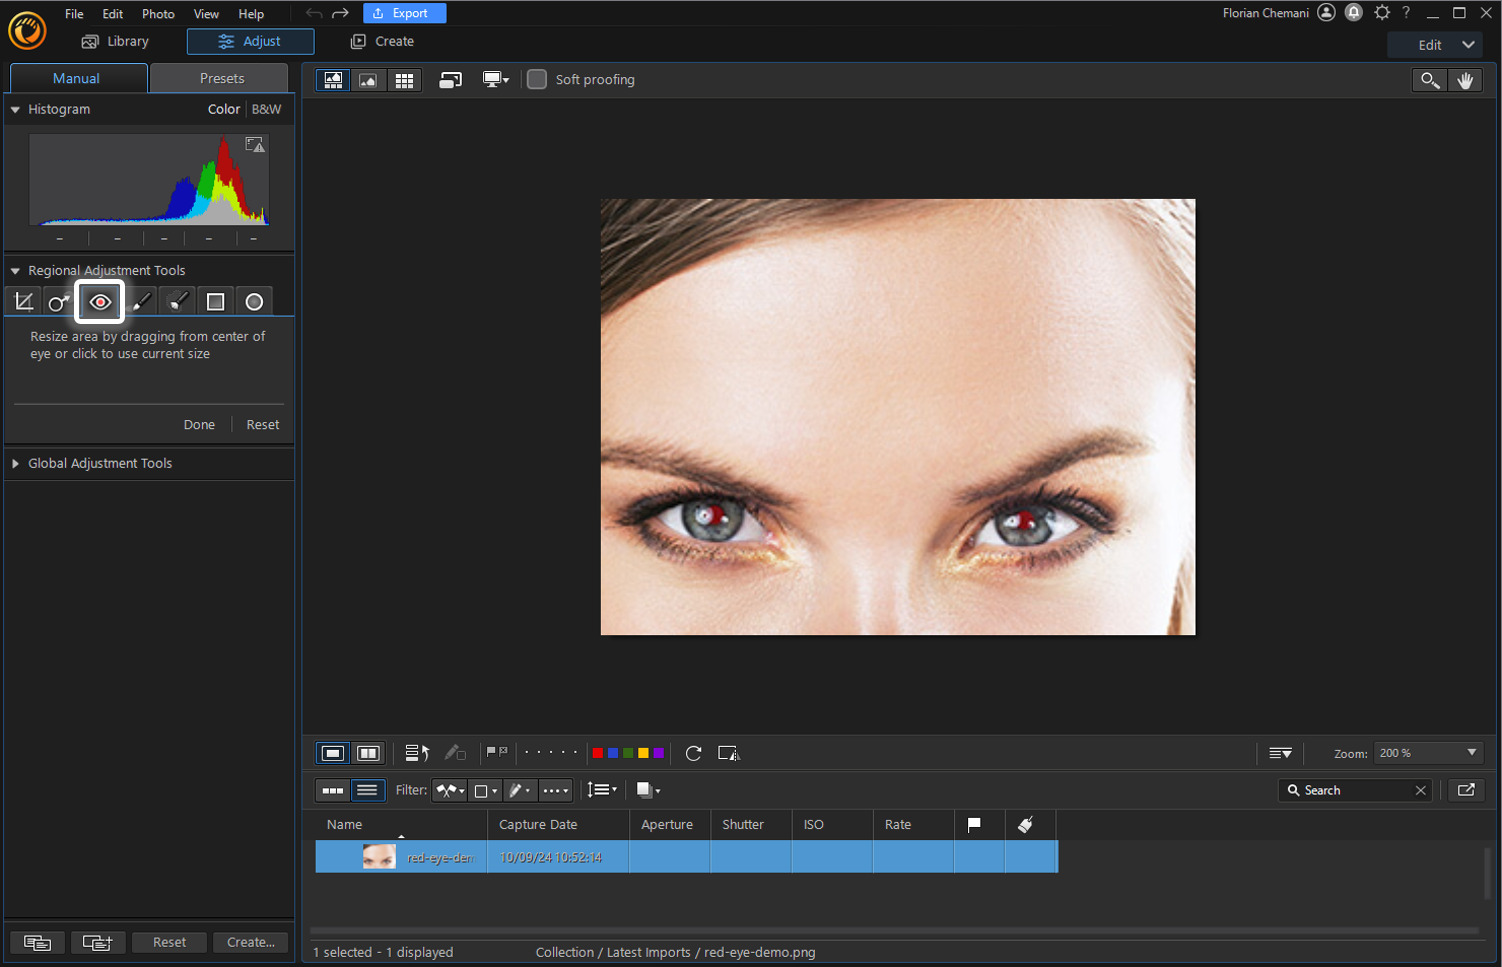
- Select the area you’d like to enhance to remove red-eye.
- Download your edited photo.

Open PhotoDirector on your device and choose the "Organize and Adjust" option from the main menu, giving you access to essential tools for managing and editing your photos.

Import your photo and locate the red-eye removal icon among the available editing tools. Click on it to activate the red-eye correction feature, which is specifically designed to address red-eye issues in photos.

Using your cursor, carefully select the affected area in the image where red-eye appears. Then, click on "Done" to save your changes.

Once you’ve reviewed the changes and are satisfied with the red-eye correction, click on the "Export" button to download the edited photo to your device.
Effective Ways to Prevent Red-Eyes in Your Images
Once you understand why the red-eye effect occurs, you can also begin to understand effective ways to prevent this effect from showing up in your photos. Here are a few tried-and-true ways to avoid red-eye:
Turn on a light
When you take photos in a dark room or outside at night, your subject’s pupils have likely expanded to accommodate the dark setting. Turning on a light can give the pupils a better chance of constricting when you take a photo with the camera flash, leaving less room for light to bounce off the fundus and appear red.Ask your subject to avoid looking directly at the camera
Red-eye is most noticeable when a person is looking directly at the camera, as the light from the flash can reflect directly back to the camera. Instead, asking them to look to the right or left of the camera can change the reflection angle, preventing the red color from appearing over the eyes.Use the red-eye reduction setting
Many digital cameras come with a red-eye reduction setting that you can turn on to minimize red-eye. This setting sends the flash twice, giving the subject’s pupils time to constrict before sending the second flash and taking the photo. As a result, less light can get into the pupils, reducing the red reflection.Separate the lens and the flash
Red-eye is most noticeable on cameras that have the lens very close to the flash, such as compact cameras. If you’re using a camera with an external flash, you can try moving the flash away from the lens to change the reflection angle.
If you have followed these steps and still notice red-eye in your photos, it may be easiest to remove the red-eye in post-production rather than trying to prevent it.
5 Other Touch-up Tools You Should Know About
Along with the red-eye remover tool, PhotoDirector includes several other impressive touch-up tools that you can use to remove imperfections in your photos and create a cleaner, more precise appearance. Here are five other touch-up tools you should know about within PhotoDirector.
1. Face Shaper
PhotoDirector’s Face Shaper tool allows you to alter the face shapes within your photos. This feature can make a face look more symmetrical or create a more whimsical appearance.
To use the Face Shaper tool:
- Click the “Guided” tab in the PhotoDirector desktop program.
- Click “People Beautifier,” then “Face Tools.”
- Adjust the feature points of the face and use the “Strength” slider to change the face shape.
PhotoDirector can save you time by automatically detecting the faces within your photos, then confining the face effects to these areas.
To learn more about face shaper check out 3 Best Face Editor Tools for Photo Touch-Ups.
2. Wrinkle Remover
The Wrinkle Remover tool can eliminate wrinkles from the faces within your photo.
- Click the “Guided” tab in the PhotoDirector desktop program.
- Click “People Beautifier,” then “Face Tools.”
- Select the Wrinkle Remover tool.
- Use the brush to choose the face area you would like to smoothen.
- Adjust the “Size” slider to alter the effect’s area.
3. Teeth Whitening
The Teeth Whitening tool allows you to whiten the teeth within your photo. You can find this tool under the “Face Tools” tab.
- Click the teeth whitening brush.
- Adjust the size, feather, and strength of brush.
- Drag your mouse over the teeth to begin whitening them.
You can also select “Fit to edges” to allow PhotoDirector to detect the edges of the teeth and limit your brushstrokes within these areas.
For a more in-depth guide check out How to Whiten Teeth in a Photo for Free.
4. Skin Smoother
You can use the Skin Smoother tool to eliminate bumps, wrinkles, and other blemishes from faces within your photo. This tool is located under the “Skin Tools” tab.
- Select the brush.
- Adjust the size, feather, and strength of the brush to your liking.
- Drag your mouse over the areas you want to smooth.
You can also move the sliders for “Smoothness” and “Detail” to fine-tune the effect.
For more information on skin smoothing check out 3 Tips to Touch Up Photos.
5. Body Shaper
Finally, the Body Shaper tools allow you to reshape people and objects within your photo. This toolset includes the Distortion tool, Mesh tool, and Manual Mesh tool.
The Distortion tool allows you to warp areas of the picture to change the shape of the objects near the warp. Meanwhile, the Mesh tools enable you to create a mesh grid that you can use to reshape objects.
Download The Best Red-Eye Remover for Free
Noticing red-eye in photos can be frustrating. However, the upside is that we can easily remove red-eye effects with free apps like PhotoDirector, our favorite image editor. The tool utilizes automatic red-eye detection feature to select the red-eye within your photos and correct it to natural eye colors.
Even better, the app also features other touch-up tools, allowing you to complete all of your photo editing with ease. You can quickly master these tools and create studio-quality edits, regardless of your photo editing level and experience.
Download PhotoDirector today to test out the impressive features yourself!
FAQ About Removing Red-Eye
Red-eye is an effect that often occurs in flash photography when the camera flash reflects the blood in the back of the eye. As a result, the people within the photo appear to have red eyes.
This effect is especially noticeable when taking photos in dark rooms. The pupils naturally expand in the dark, allowing more light to enter the eye and reflect to the camera.
Additionally, the less melanin a person has in their eye, the stronger the red-eye effect. For example, people with light skin and blue eyes have low melanin levels, allowing the blood in the back of their eyes to reflect more strongly with the camera flash.
Dozens of photo editing apps contain red-eye corrector tools. However, some of these apps are easier to use and more effective than others. As you search for a tool to correct red-eye, we recommend looking for these features:
- Automatic red-eye correction
- Manual red-eye eraser brush
- Slider adjustments
- An easy-to-navigate interface
- Numerous beauty and touch-up tools
- A range of file export options
If you take photos often, you’ll want to have a high-quality photo editing app on your phone that you can use to edit pictures quickly before posting them to social media. Here are our choices for the best photo editing apps for iOS and Android:
- PhotoDirector
- Pixlr
- PicsArt
- Snapseed
- Adobe Photoshop Camera
- Werble
- Canva
Sometimes, it makes more sense to edit photos on your computer rather than on your phone. Desktop editing programs typically allow for more precision and higher-level editing than photo editor apps.
Here are our top programs for photo editing on Windows and Mac:
- PhotoDirector
- Gimp
- Corel Paintshop Pro
- Skylum Luminar 4
- Adobe Lightroom Photo Editor


